• Home
  • Create
    • Cookbook
      • Recipes
    • Crafts
    • Grateful Hearts Giving Hands
    • Holidays
      • Christmas
      • Easter
      • Independence Day
      • Thanksgiving
      • Valentine’s Day
    • Ingenious Ideas
    • Printables
    • Sewing
  • Family Life
    • Farming
    • Genealogy
  • Homeschool
    • Art
    • History
    • Homeschool Encouragement
    • Language Arts
    • Learning Styles
    • Library
    • Math
    • Science
    • Unit Studies
  • Motherhood
    • Home Making
      • Establish a House
    • Me
  • My Faith
    • Celebrate the Family Proclamation
      • Family Proclamation Articles
    • Family Home Evening Lessons
    • Flannel Board Stories
    • General Conference
    • Memorize the Family Proclamation
    • The Living Christ: An Easter Countdown
      • Living Christ Lessons
    • Young Women
  • Contact
  • About Me

Cranial Hiccups

Every once in a while and totally unintentionally my brain spews out a good idea.

You are here: Home / Create / Crafts / Etching Glass Mugs {Tutorial}

Etching Glass Mugs {Tutorial}

March 15, 2011 by Montserrat {Cranial Hiccups} 22 Comments

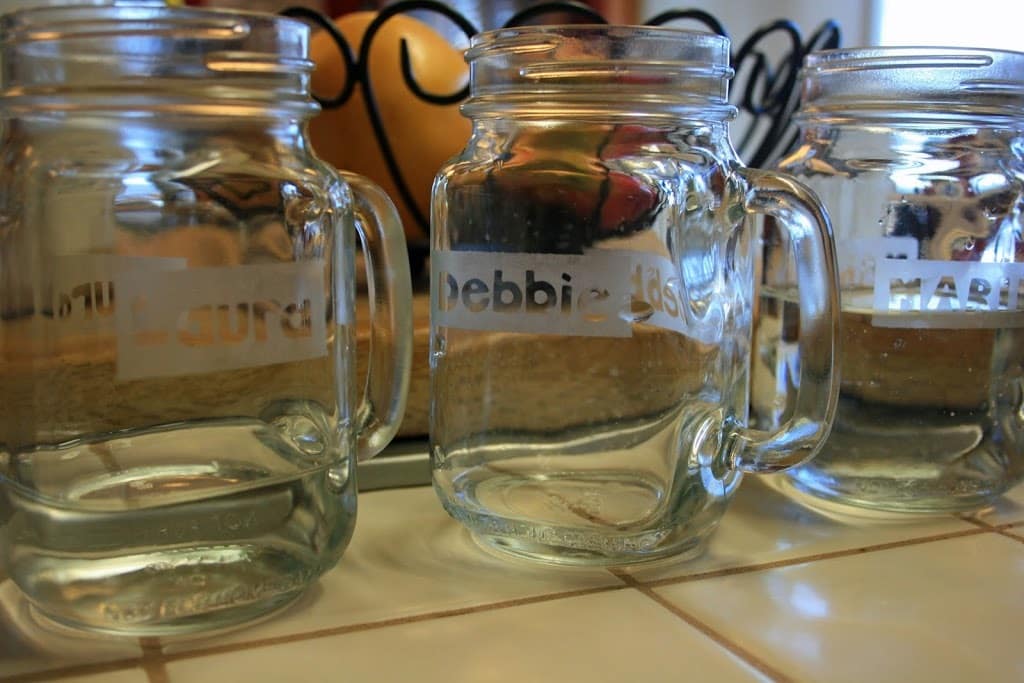
I don’t know why it’s taken me eight children to finally think of permanently etching their names on individual cups. We’ve tried everything from assigning colors of plastic cups to names on pieces of masking tape. Now the proof cannot be washed away and has to be carefully  used.

Here’s the process we used to etch our names on the glass mugs. We bought mason mugs here. And this is the brand of etching cream (Armour Etch). Ours came from the local window place (Fast Glass) but you can usually get it at craft stores or online.

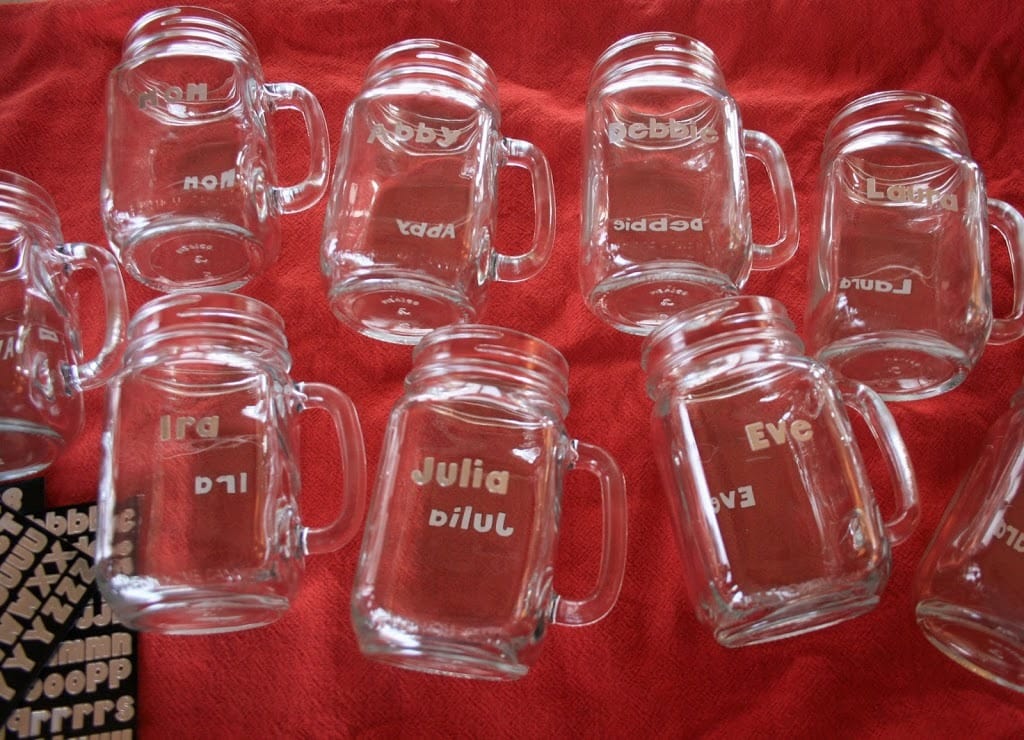
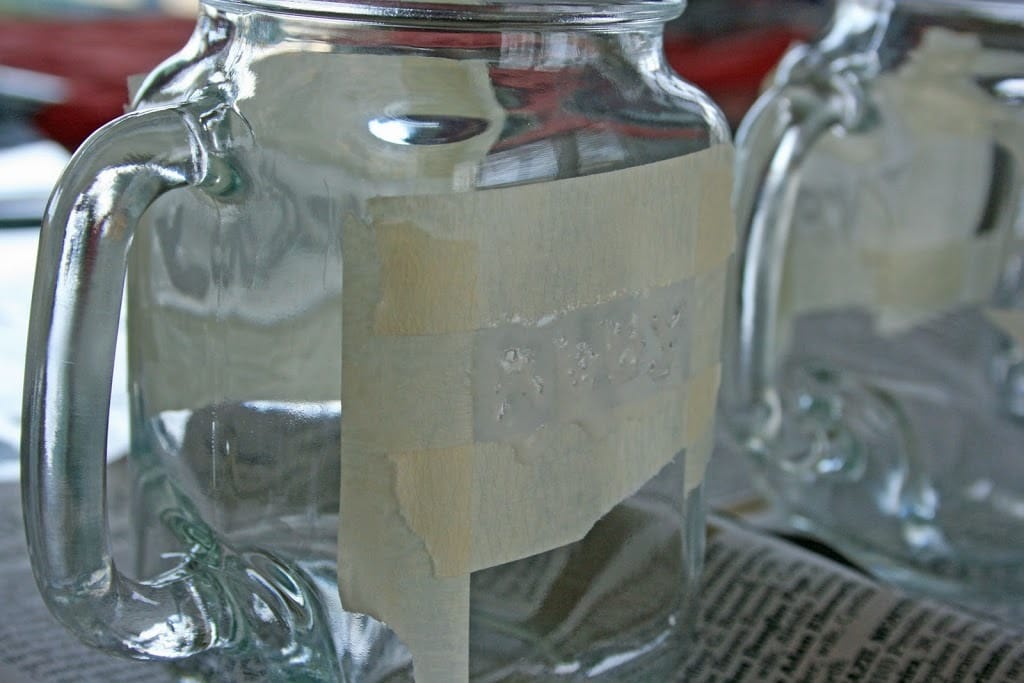
We used stickers to spell out everyone’s names. Obviously I am sharing the names of my children here but most of you don’t know which ones go with which child (except for the boy). We put stickers on two sides of the mug, which is why you can see the names spelled backwards.

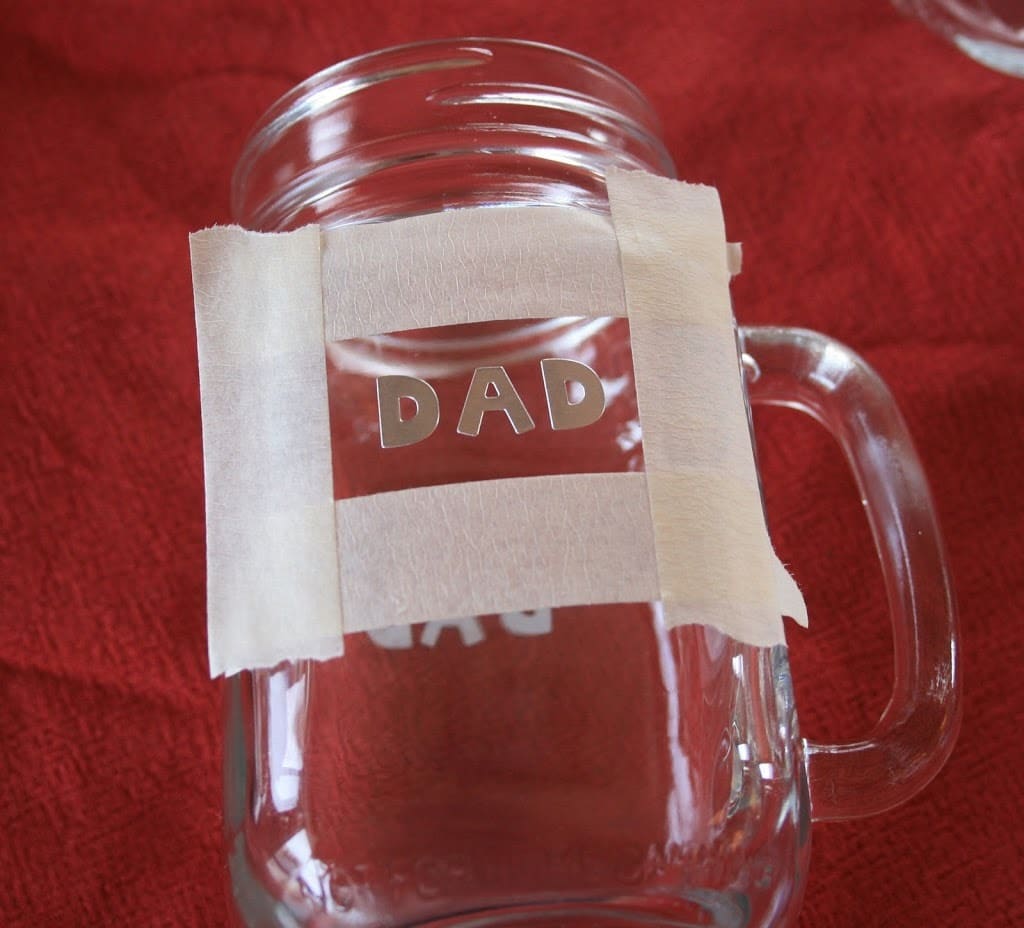
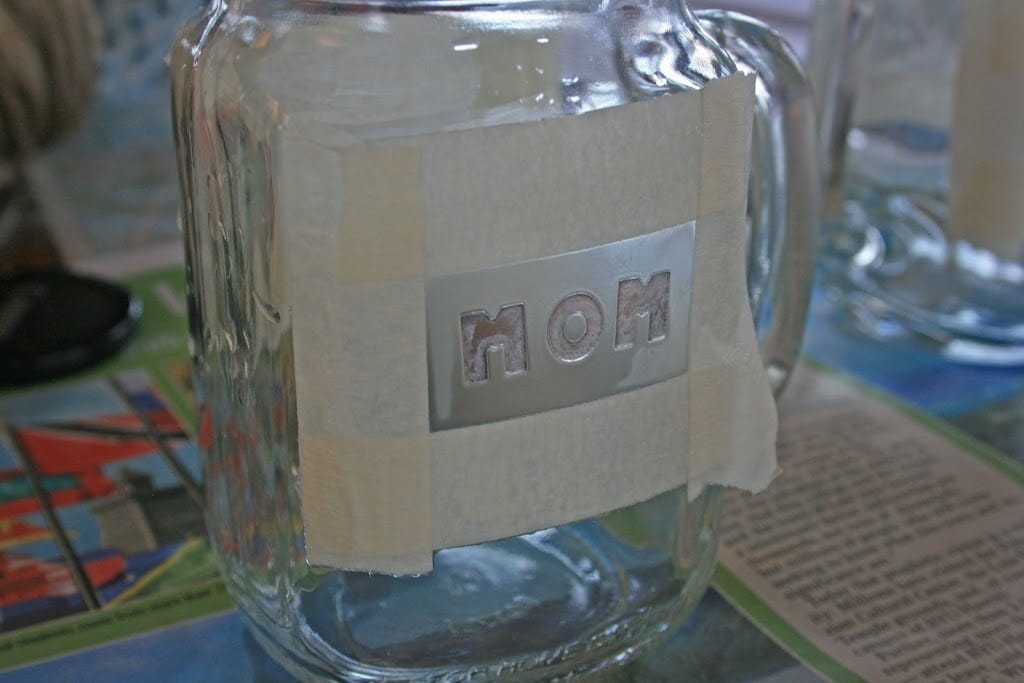
Next we taped off a rectangle around each name.

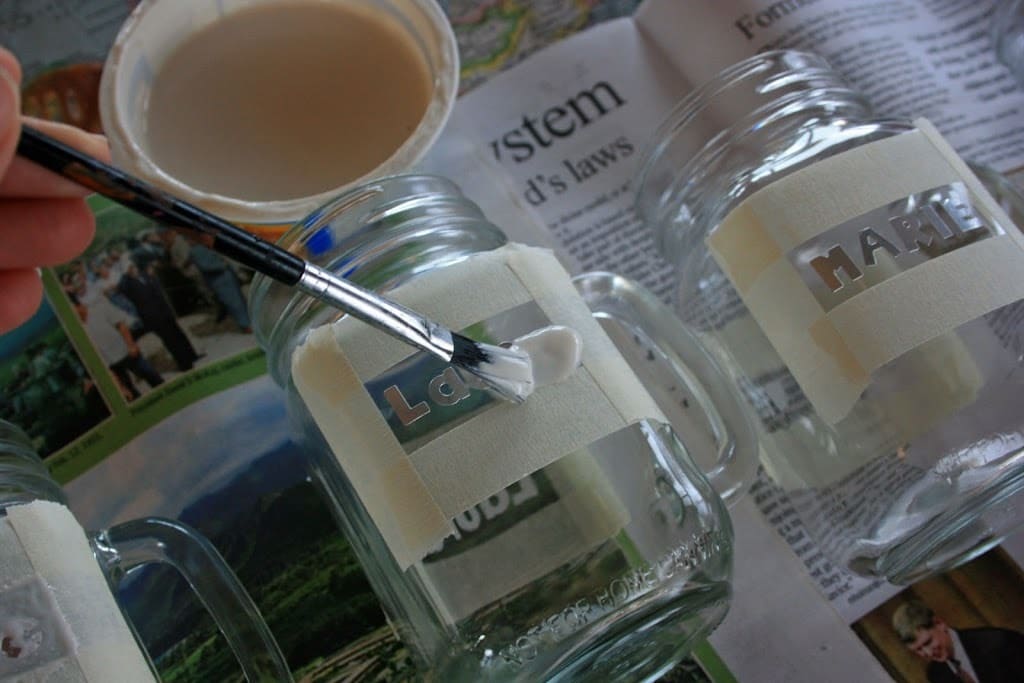
The etching cream gets painted on where we want the glass to be etched. It won’t etch where the stickers or tape are on the glass.

The etching is left on for only about 5 minutes. It doesn’t take long at all.

Wash off the cream under running water. The etching cream is very acidic so PLEASE wear gloves. At first it won’t look like the glass has been etched. But it is!

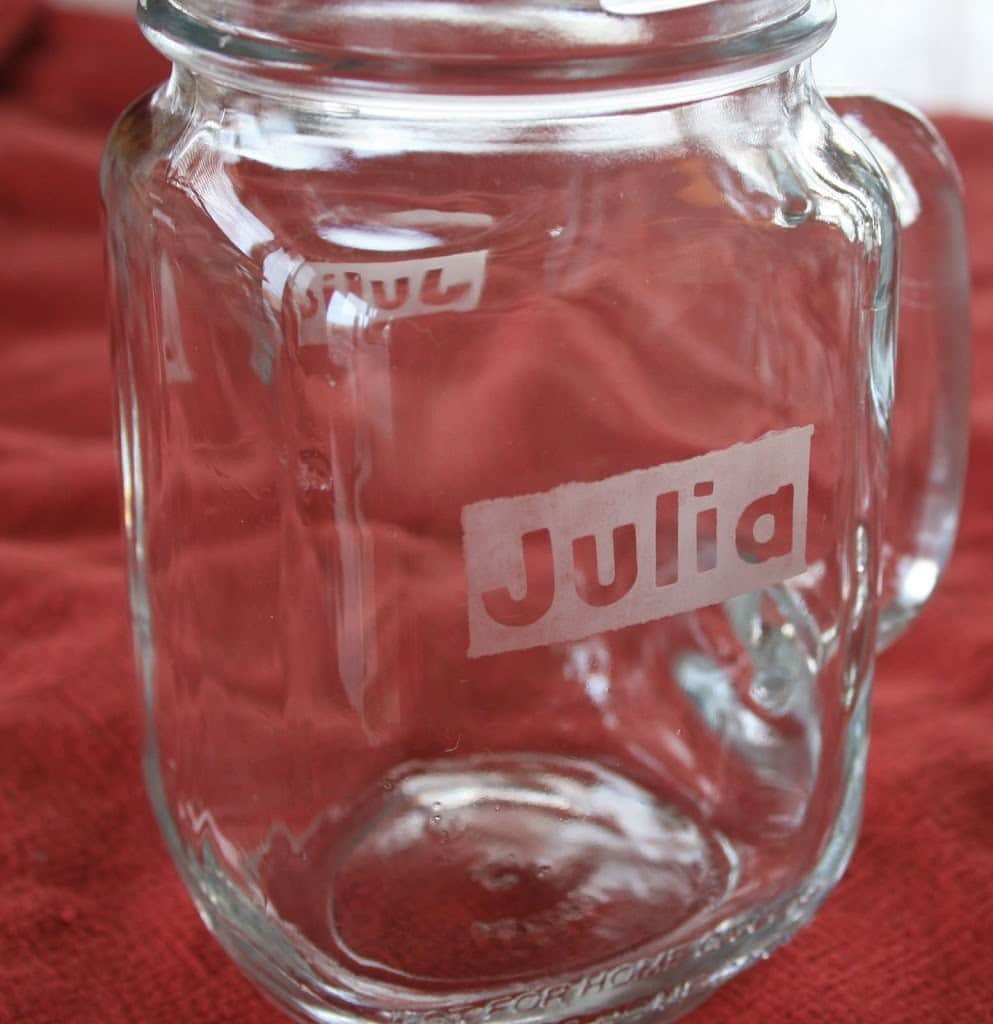
Peel off the stickers and tape. Wash the glasses again and you are done!

Cocoa Signature with Candy 2 © 2007-2011 Chocolate on my Cranium, LLC all rights reserved

© 2007-2013 Chocolate on my Cranium, LLC all rights reserved

Share this:

  • Click to email a link to a friend (Opens in new window) Email
  • Click to print (Opens in new window) Print
  • Click to share on Facebook (Opens in new window) Facebook
  • Click to share on X (Opens in new window) X
  • Click to share on Pinterest (Opens in new window) Pinterest
  • More
  • Click to share on LinkedIn (Opens in new window) LinkedIn
  • Click to share on Reddit (Opens in new window) Reddit
  • Click to share on Tumblr (Opens in new window) Tumblr
  • Click to share on Pocket (Opens in new window) Pocket

Related

Filed Under: Crafts, Home Making, Ingenious Ideas Tagged With: Tutorials

Comments

  1. Bindi says

    March 15, 2011 at 4:58 am

    I love this idea. Thank you for such a great tutorial. Can’t wait to try it out. There are only 4 people in our family but I still have at least 20 glasses used each day!

    Reply
  2. Vicki Arnold says

    March 15, 2011 at 5:32 am

    Love this! Sounds like a great solution to our cup issues, too. I have a Julia as well, it’s a beautiful name. 🙂

    Reply
  3. Deirdre says

    March 15, 2011 at 7:07 am

    I see a super fun summer project that can be made into Christmas gifts for friends and family. Awesome!

    Reply
  4. Julie says

    March 15, 2011 at 7:47 am

    That’s a cool idea! Now I want to do it. Is etching cream expensive?

    Reply
  5. Ginger says

    March 15, 2011 at 8:21 am

    good tutorial…I’m going to mark my glass canisters this way.

    Reply
  6. Lesa says

    March 15, 2011 at 9:04 am

    That is a brilliant idea. You did a great job!

    Reply
  7. Mariel says

    March 15, 2011 at 9:20 am

    So cute! I would love for you to submit this to “Or so she says…” (and any other great ideas you want to share :))

    Mariel
    http://www.oneshetwoshe.com

    Reply
  8. Tomena says

    March 15, 2011 at 9:29 am

    I have colored cups with their names in permanat marker… but these are cuter. I’m having a hard time with the names. I can only think of them as chocolate children.

    Reply
  9. Cassi : ) says

    March 15, 2011 at 9:51 am

    I had NO idea! Thank you for that – love when I can learn something new!

    Reply
  10. Mommymita says

    March 15, 2011 at 10:36 am

    These turned out fantastic! I love the mugs with handles and may end up getting them now – thanks for the link

    Reply
  11. Wendy says

    March 15, 2011 at 12:01 pm

    My hubby would love this.

    Reply
  12. Carrie says

    March 15, 2011 at 2:55 pm

    SO great! I love those mugs…”confidence boost in a cup” my hubby always says. Okay– he doesn’t really say that. But I think so because they are so handle-awesome.

    Reply
  13. Tanner says

    March 15, 2011 at 3:01 pm

    Fantastic! And I already have the mugs!

    Reply
  14. Annie says

    March 15, 2011 at 4:34 pm

    We’ve struggled with how many glasses we have at the end of the day, too. We’ve tried the different colors, then permanent marker names (which fade after dishwasher washings anyway).

    These look great! I love the reverse etching, what a great idea to use the stickers!

    Reply
  15. James, Amelia, Ashley, Paige, and Michael says

    March 15, 2011 at 6:32 pm

    I love this idea, too! I recently did glass etchings with the young women in our ward and we made it way more complicated than we had to, apparently. I love how you used the stickers! I’ll be doing this with my kids soon!

    Reply
  16. Alison Moore Smith says

    March 15, 2011 at 7:13 pm

    This is a beautiful thing. I hate crafts and it’s still a beautiful thing. Love it. I might even DO it!

    Reply
  17. Evenspor says

    March 16, 2011 at 4:52 am

    What a great idea. I’ll have to keep this one in mind.

    Reply
  18. Melia says

    March 16, 2011 at 11:42 am

    I LOVE this idea. We have been using colored plastic cups for years, and each has a labeled refillable water bottle that we keep in the fridge.

    My kids and I are making these this week during spring break for sure!

    Reply
  19. Kimberly says

    March 16, 2011 at 1:10 pm

    So cool, thanks for sharing!

    Reply
  20. mama boss says

    March 16, 2011 at 7:12 pm

    that is so cool!

    Reply
  21. Charlotte says

    March 17, 2011 at 3:41 pm

    What a great idea. I’m adding this to my list of things to make.

    Reply
  22. Sariah says

    March 20, 2011 at 6:28 pm

    Oh you have to help me do some 9x13s for college or something! These are so cool!

    Reply

Leave a ReplyCancel reply

This site uses Akismet to reduce spam. Learn how your comment data is processed.

Hello, I'm Montserrat. I'm a farmer's wife, mother of eleven, homeschooler, chocoholic, music lover, and like to play a good game of Scrabble. You can read more about me here. . .

You'll find a little bit of everything on this blog. It's my place to share all the ideas, activities, crafts, and resources that I have gathered and tried over a number of years. Feel free to browse around using the menu up top or doing a search in the box below.

Enter your email address to subscribe to this blog and receive notifications of new posts by email.

Archives

March 2011
S M T W T F S
 12345
6789101112
13141516171819
20212223242526
2728293031  
« Feb   Apr »

Return to top of page

COPYRIGHT © 2025 Montserrat Wadsworth at Cranial Hiccups • Lifestyle Pro Theme on Genesis Framework

[ Placeholder content for popup link ] WordPress Download Manager - Best Download Management Plugin