Every year we try to make a pinata for either Memorial Day or Independence Day. Usually we make two – one for the big kids and one for the younger ones.
This year I got a hair-brained idea to make individual mini pinatas for each child to break. Not just for my children but every niece and nephew that comes to the family BBQ. That’s over 20!
Thank goodness it really only took just as much time as making two bigger pinatas and the kids really enjoyed helping. They made it easy!
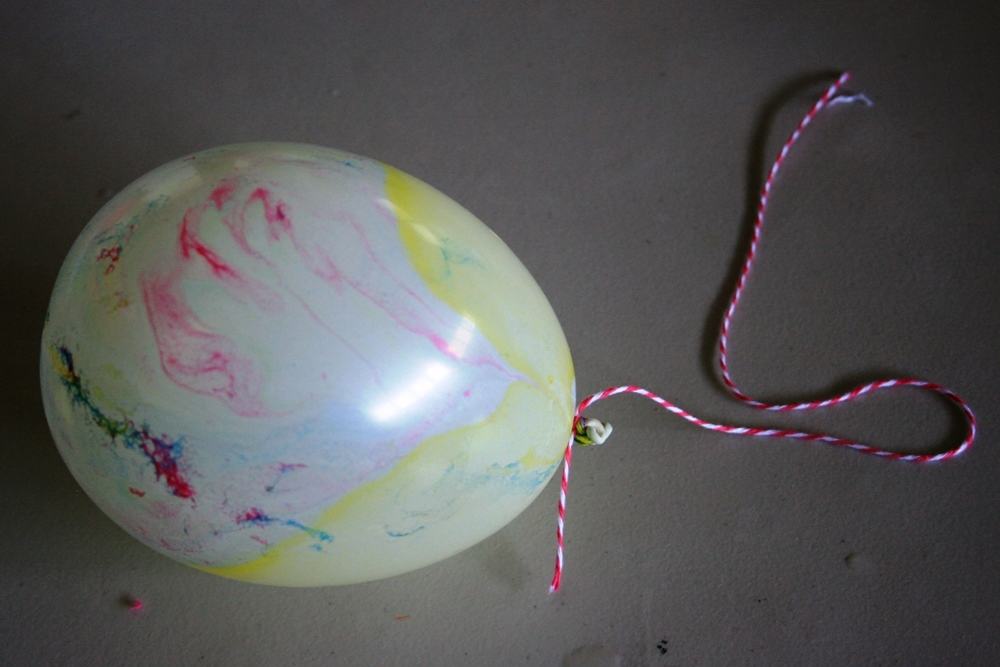
We blew up 4 inch water balloons.
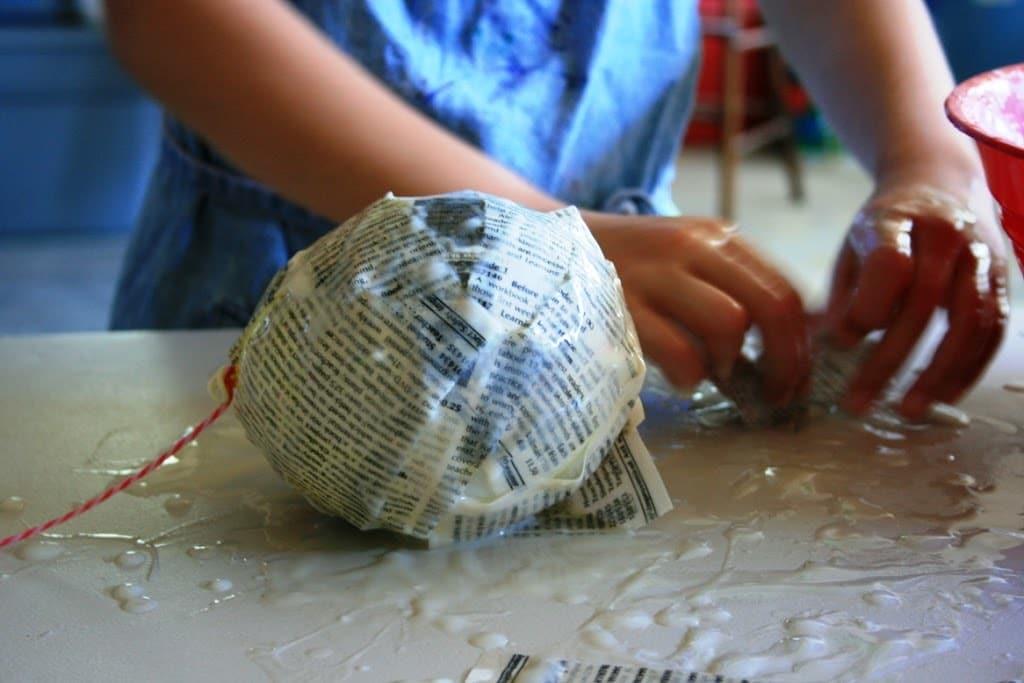
Covered them with newspaper dipped in paper mache paste.
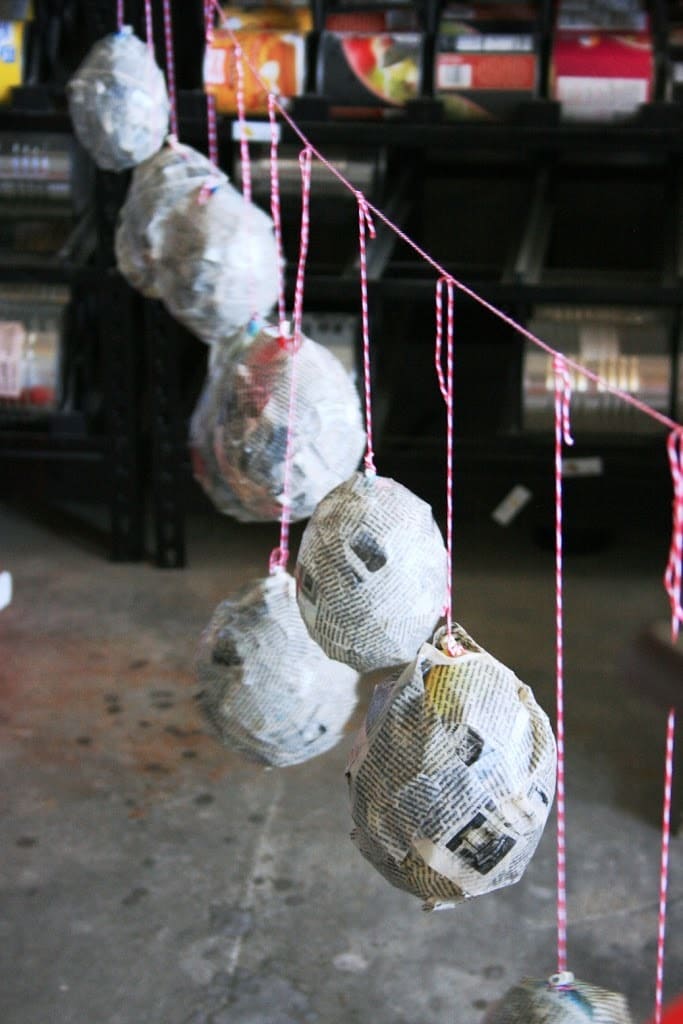
And hung them up to dry.
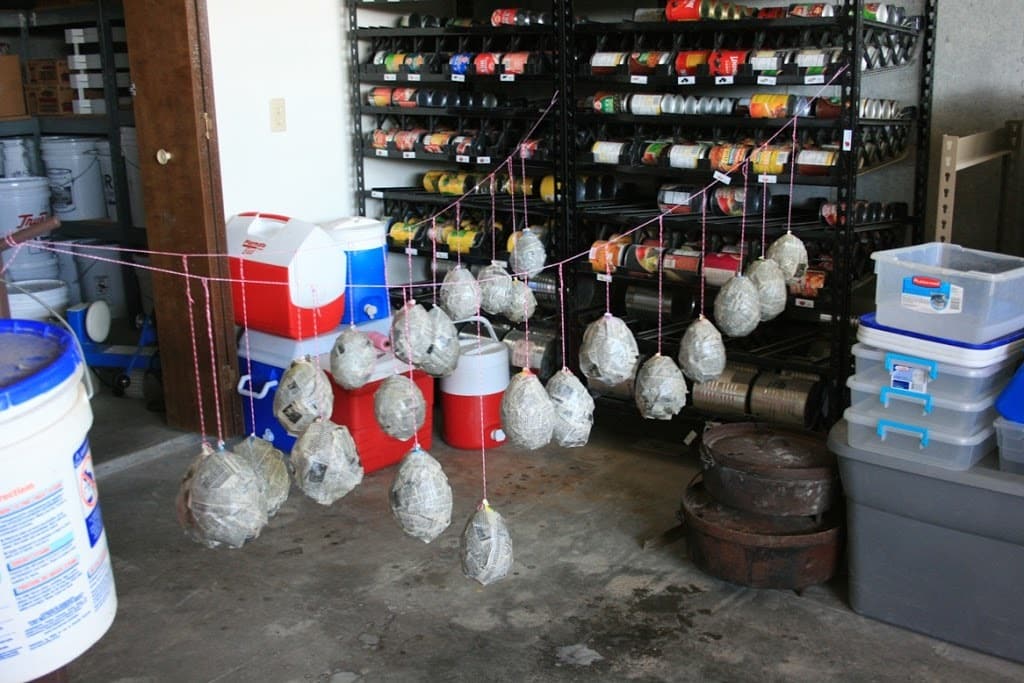
We hung them in our garage. Since it is summer they dried really fast – like in one day. So we covered them with two more layers letting them dry a day before applying the next layer. You don’t have to do those extra layers if you don’t want. When completely dry we popped and took out the balloons.
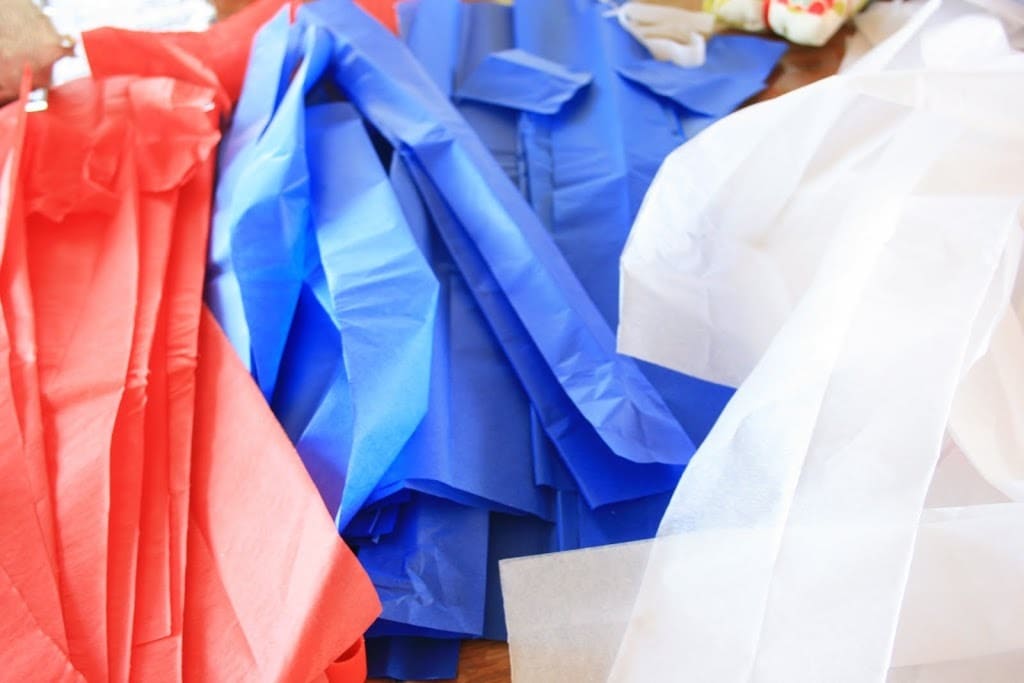
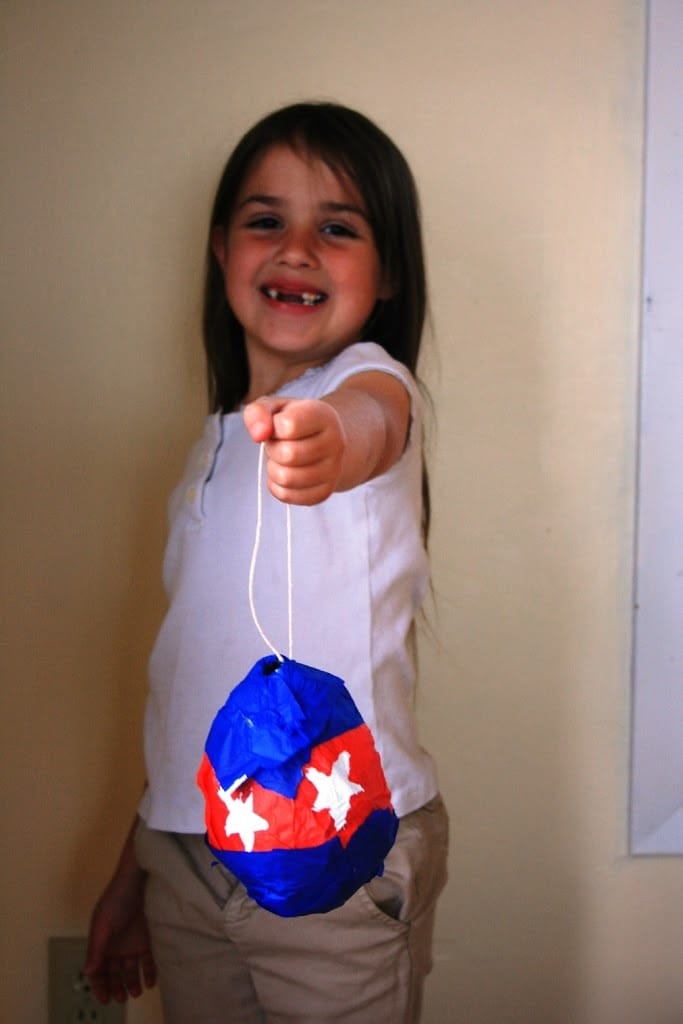
Next we cut up tons of blue, red, and white tissue paper . . .
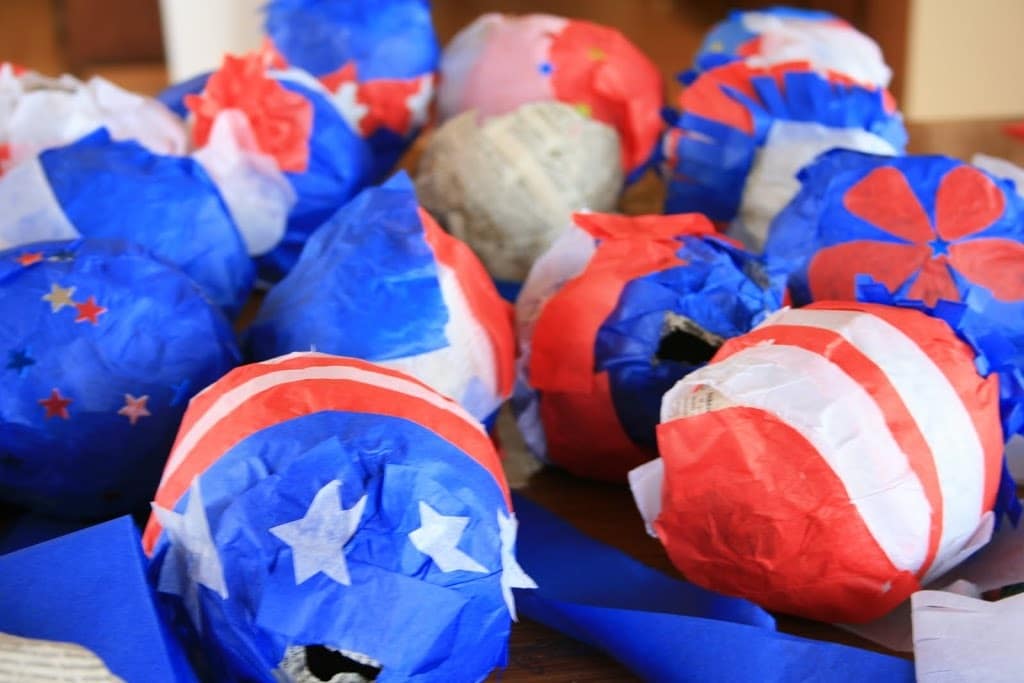
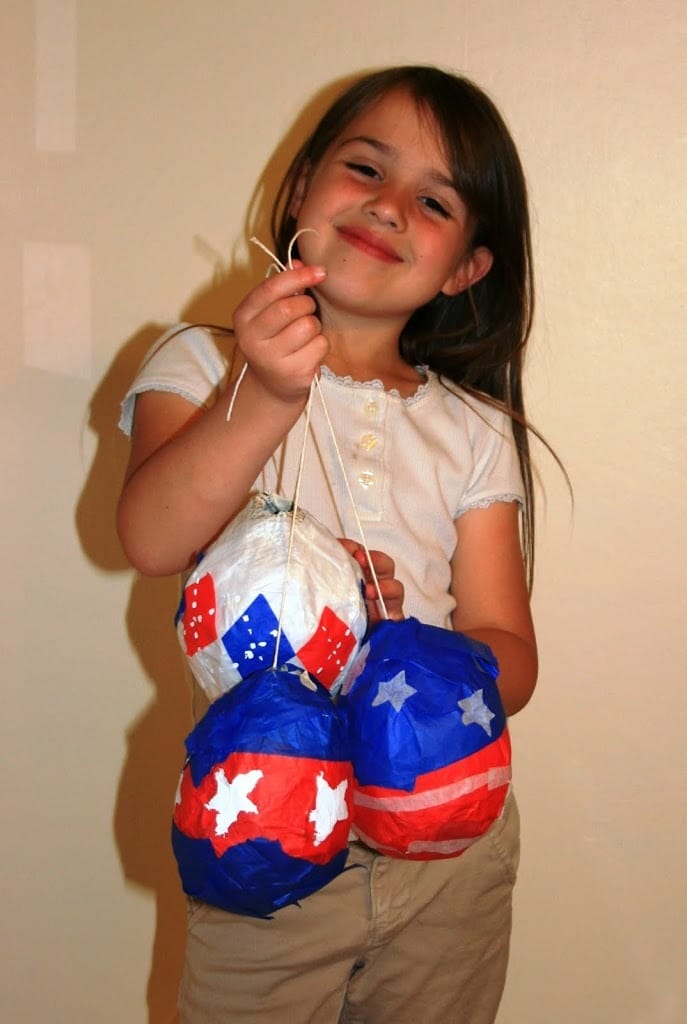
and let the kids decorate to their hearts content. We used plain old glue sticks to adhere the tissue paper to the pinatas.
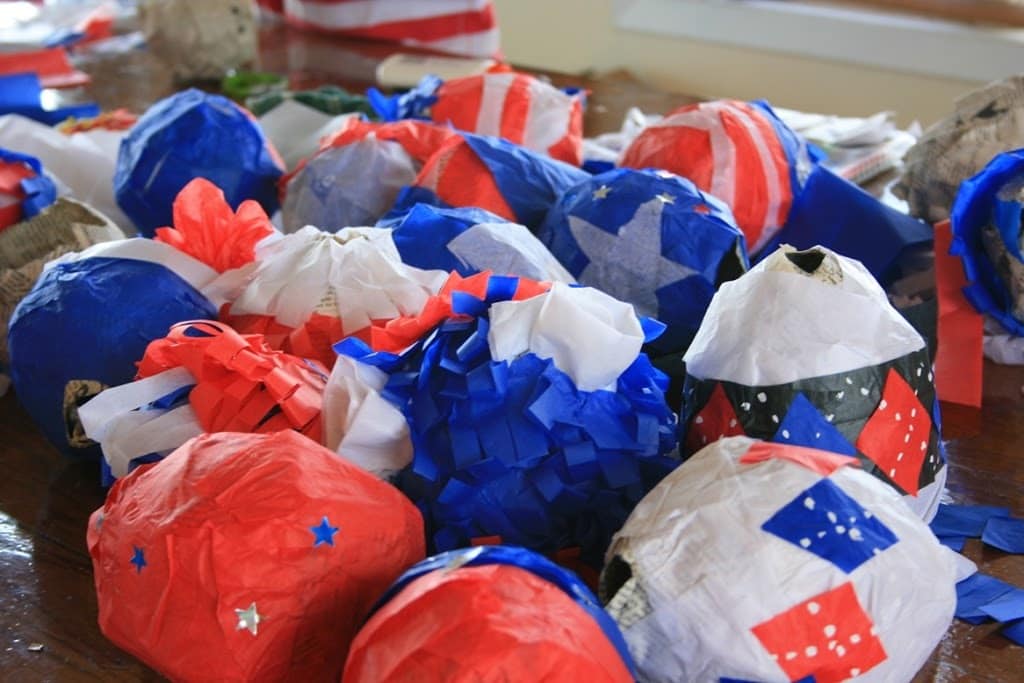
We can’t wait for the 4th to fill these and let each child bust one open. One good thing? All the candy and prizes will already be divided up so no one goes away crying!
{{psst . . . There’s still time to make some for your 4th of July celebrations!}}
Cool pinatas guys! I’m sure you’ll have great fun with those.
May I pay a little compliment to Cookie? You are a very pretty girl! I love your hair! 🙂
I know this post was about a craft, but all I could seem to focus on was your food storage…I am such a geek! 🙂 It’s been on my brain again and it seems to be all I can think about. 🙂
Great craft though. We of course would have to take out the blue, and put on maple leaves…ha ha!
What a super cute idea! I’ve never tried to make anything with paper mache. Maybe this can be my intro to it…My boys would love this. Thank you for sharing!
Such a great idea. I have all those supplies too and I’ve been thinking about what it takes to make a pinata.
What a great project! The kids are going to love busting them probably as much as they enjoyed making them
This is a brilliant idea! I absolutely love it!
I am making a pinata right now for my daughters 5th birthday. I dont know if I could do 20! you guys rock (for some reason my kids arent really into paper mache.. they help for a few mins then leave..) but my almost two year old loved helping me today and stayed longer than her sisters.
Cute idea! I bet your kids had a ton of fun. Enjoy the 4th~
http://btanders.blogspot.com
For those of us who are craft challenged, can you tell me how you took out the balloon and then filled the balloon with candy/prizes? Just wondering how the treats stayed inside if you cut a hole into it. And how did you hang them? Thanks
We popped the balloons at the top where we had tied string around the tied part of the balloon. We then pulled the popped balloon out. Some of the balloons had already deflated and we were able to pull them out without popping them.
There are two ways to hang your pinata:
1) Papermache string around the balloon as you also add paper. We usually add two layers of papermache letting each layer dry, Then we will put string around the balloon with the ends up at the top at least five inches longer than the top of the balloon. We usually wrap the string around from top to bottom twice so the string is evenly spaced around the balloon (the string at the bottom of the balloon will look like a plus sign). Then we will add paper with the papermache paste to cover the string. When that dries we will add at least two more layers of paper mache. (hope that description works)
2) Duct tape string to the pinata before hanging it and hitting it. This works wells except that duct tape is so strong sometime the pinata will not break and the hard candies become destroyed from all the hitting.
There are also two ways to add the candy. You can make the hole at the top (where you took the balloon out) a little bit bigger and then add the candy to it and tape over the hole. Or you can cut a flap on the side of the pinata (cut the bottom and sides and lift the flap up |__| ) and put candy in through the flap and then tape the flap closed.