• Home
  • Create
    • Cookbook
      • Recipes
    • Crafts
    • Grateful Hearts Giving Hands
    • Holidays
      • Christmas
      • Easter
      • Independence Day
      • Thanksgiving
      • Valentine’s Day
    • Ingenious Ideas
    • Printables
    • Sewing
  • Family Life
    • Farming
    • Genealogy
  • Homeschool
    • Art
    • History
    • Homeschool Encouragement
    • Language Arts
    • Learning Styles
    • Library
    • Math
    • Science
    • Unit Studies
  • Motherhood
    • Home Making
      • Establish a House
    • Me
  • My Faith
    • Celebrate the Family Proclamation
      • Family Proclamation Articles
    • Family Home Evening Lessons
    • Flannel Board Stories
    • General Conference
    • Memorize the Family Proclamation
    • The Living Christ: An Easter Countdown
      • Living Christ Lessons
    • Young Women
  • Contact
  • About Me

Cranial Hiccups

Every once in a while and totally unintentionally my brain spews out a good idea.

You are here: Home / Create / Holidays / Easter / An Easter Countdown: The Risen Lord

An Easter Countdown: The Risen Lord

April 18, 2011 by Montserrat {Cranial Hiccups} 6 Comments

This craft goes along with day ten of The Living Christ: An Easter Countdown.

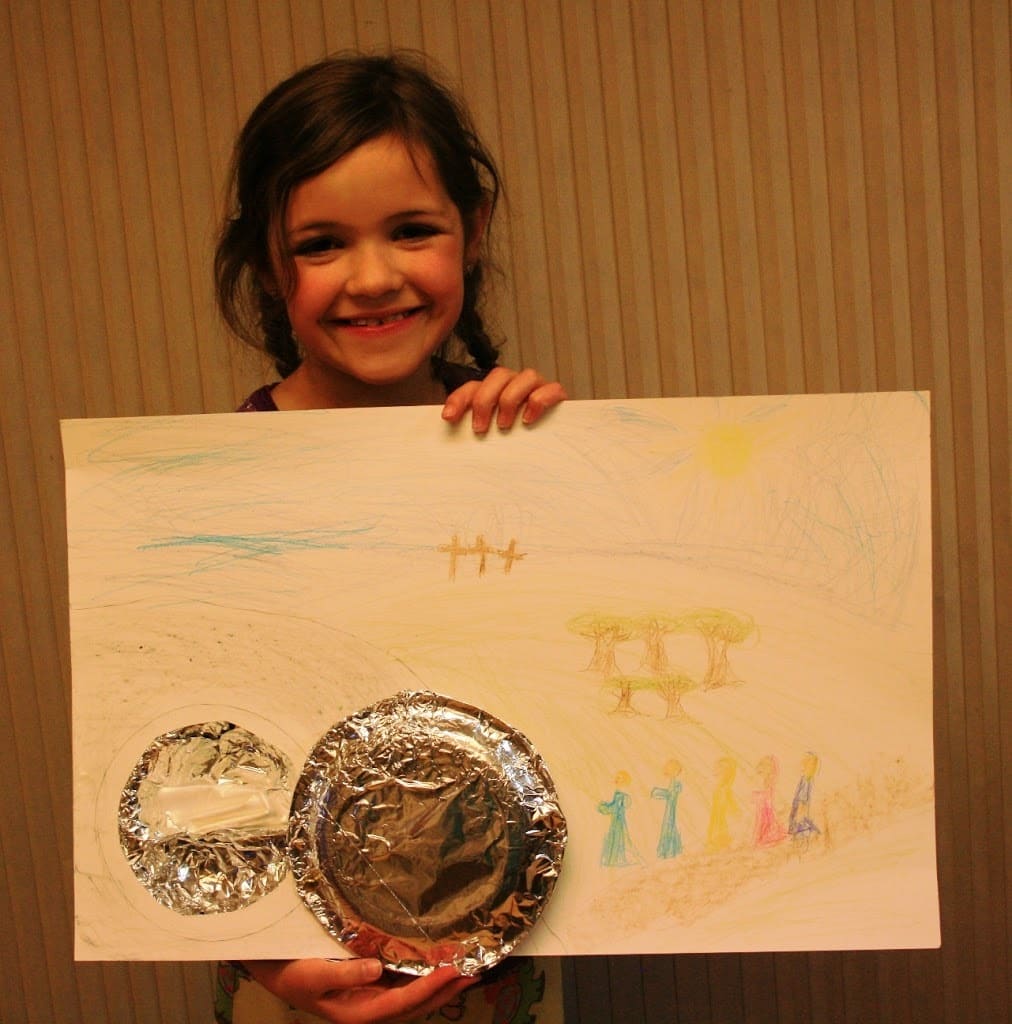
To show how the tomb was empty on Easter morning we have done this craft every year since my oldest was very little. It has been so long since I’ve been using this that I can’t remember where I got the idea. I have used it to teach Primary,  in homeschool co-ops, even Young Women. It is so simple and so effective! Little children especially love to tell the story of Jesus Christ’s resurrection using these Tomb poster.

Materials Needed:
Posterboard
small paper bowl
paper snack plate
tin foil
brad
one piece of tissue (kleenex)
crayons
tape

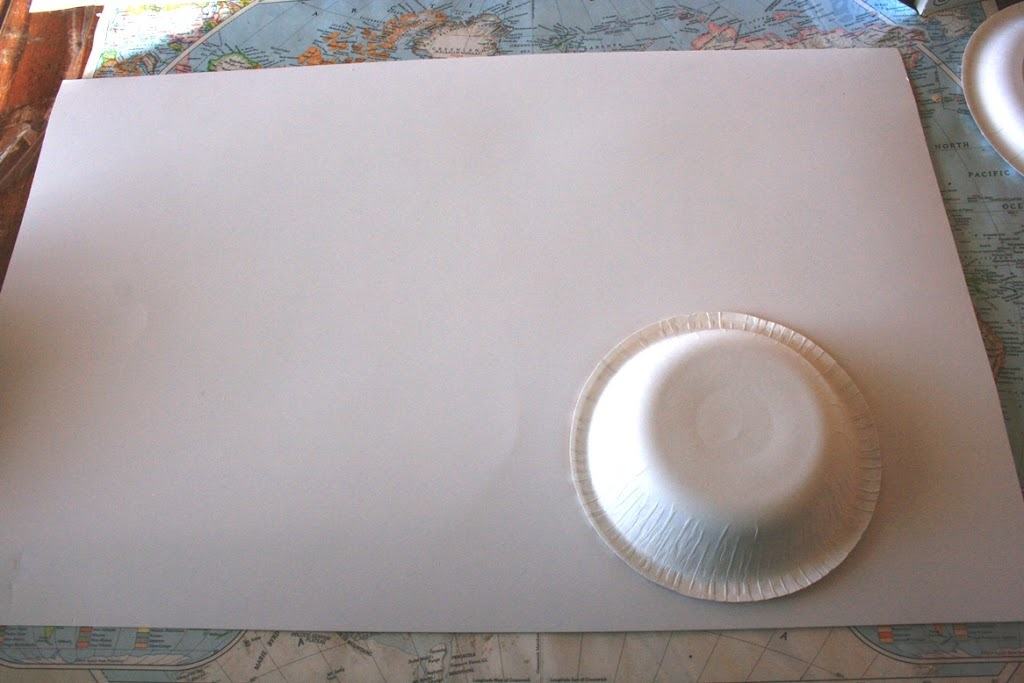
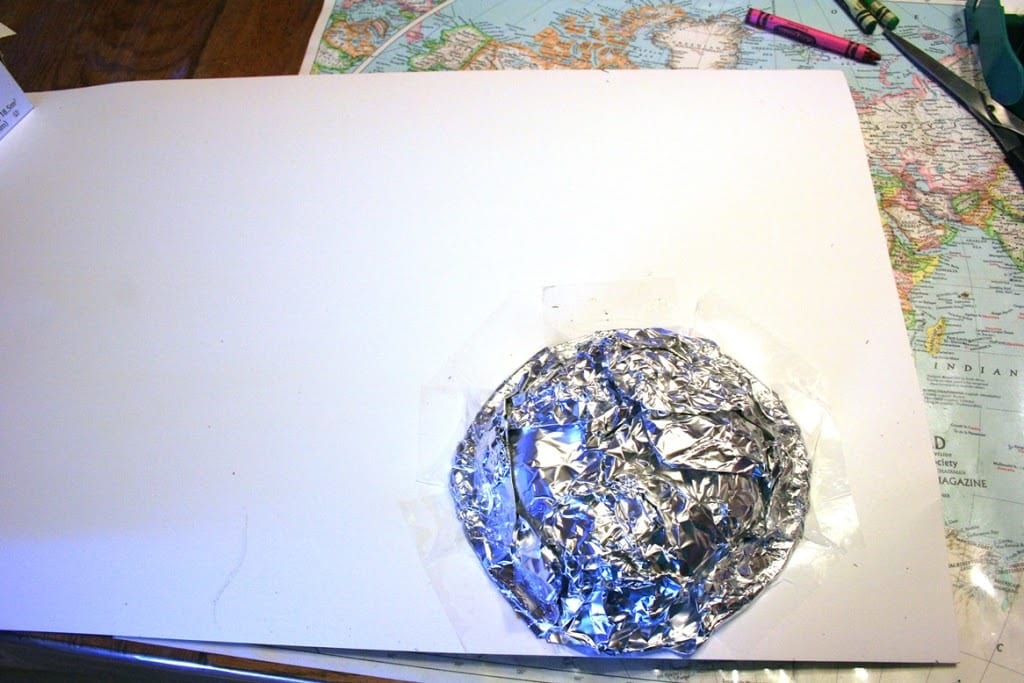
On the back of the poster board trace the bowl. {sorry for the really bad pictures. It was very cloudy and rainy today and the lighting in our old house is terrible!}

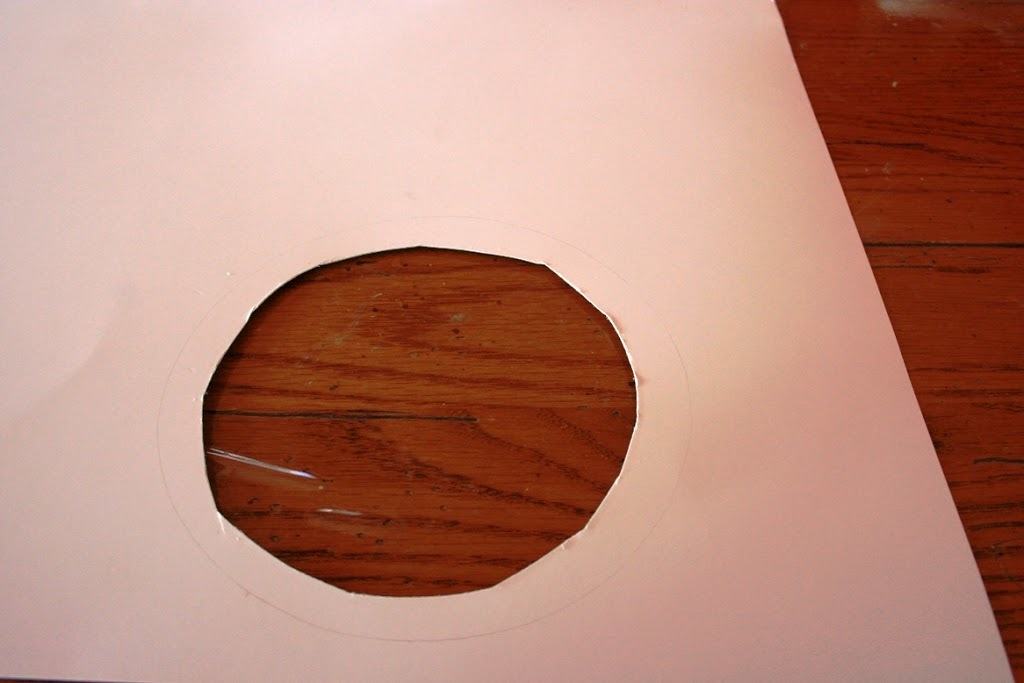
Cut out the inside of the circle you just traced. DO NOT CUT ON THE LINE but inside the line about half an inch all the way around.

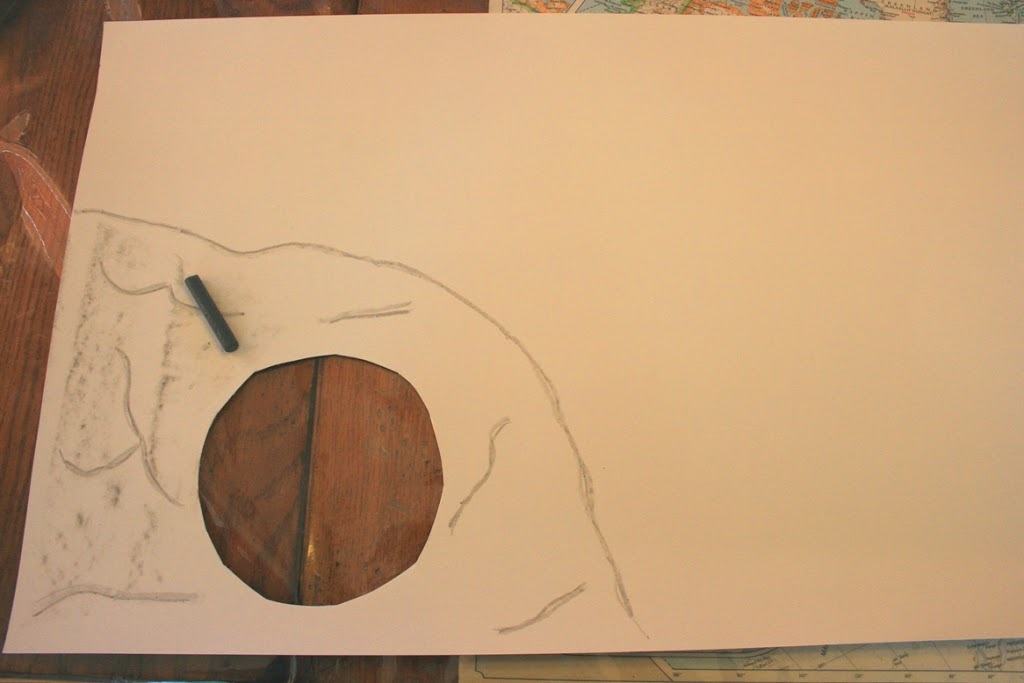
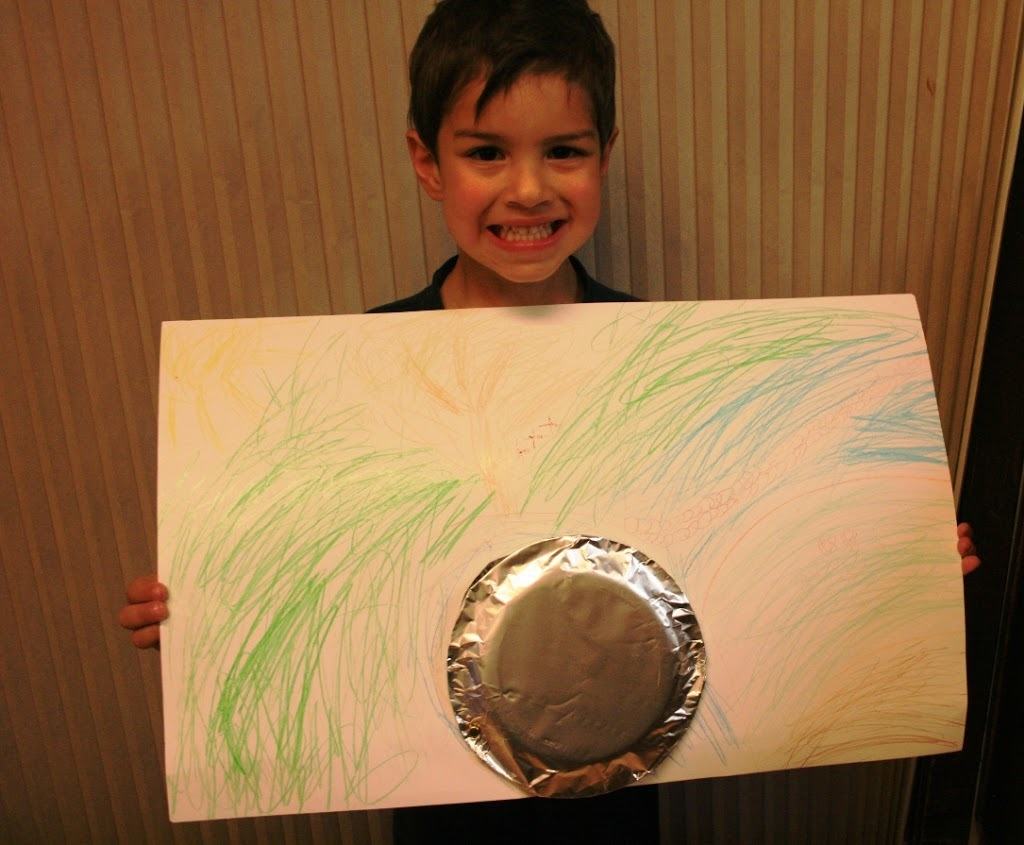
Turn the poster over and draw a big rock tomb around the hole.

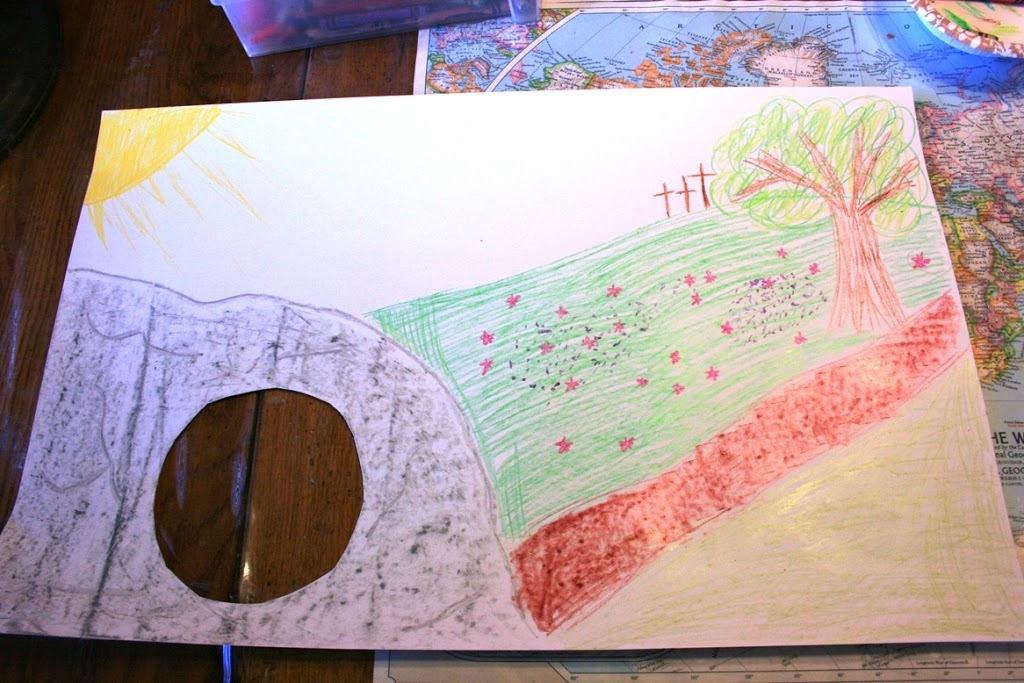
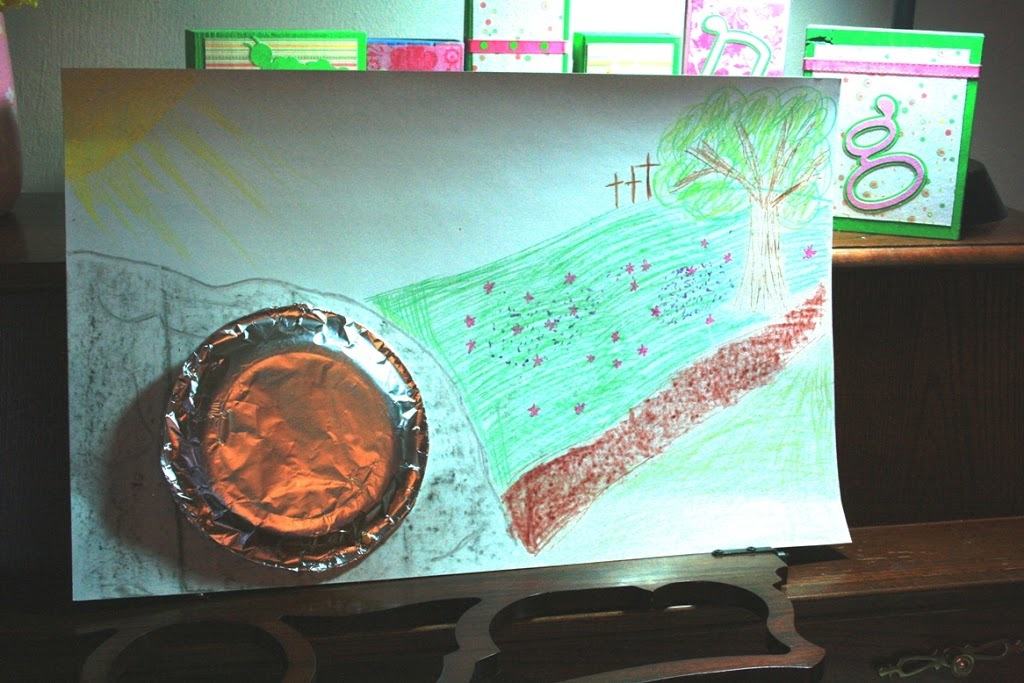
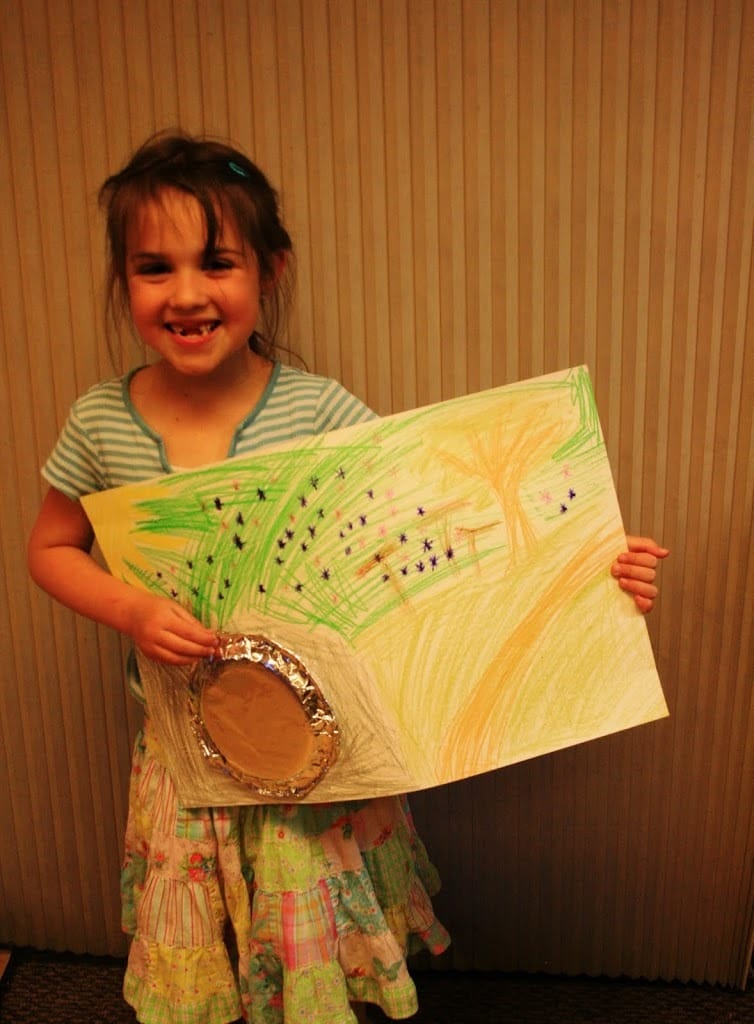
Now color in the rest of the scene. This is the one I did, you’ll see the variations my children did at the end of the post.

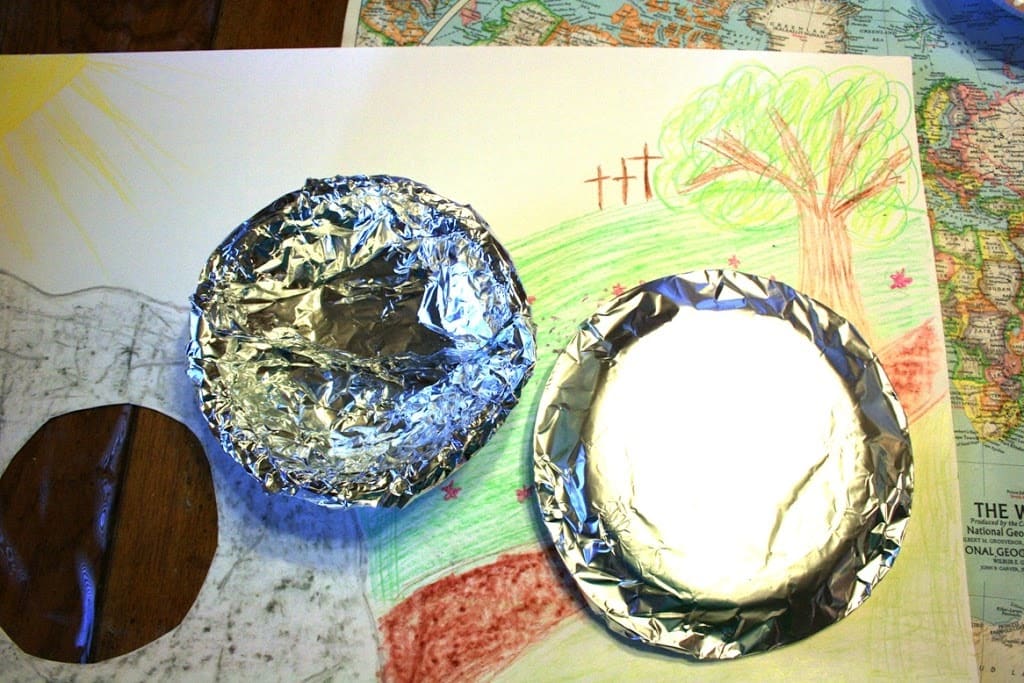
Cover the paper bowl and plate with tin foil.

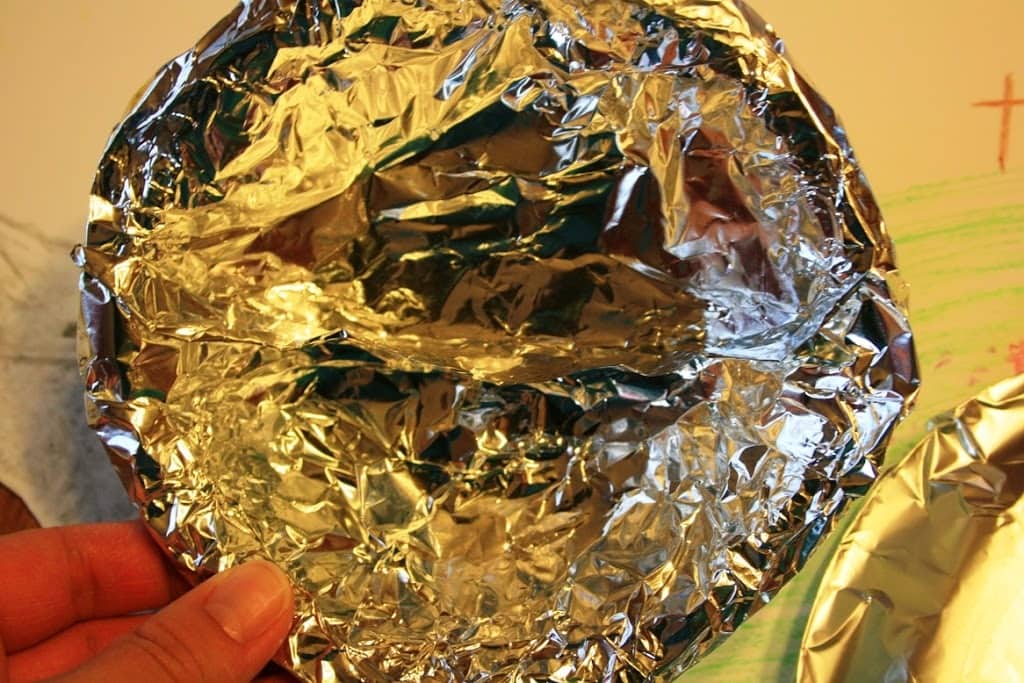
In the bowl make sure to create a shelf with the tin foil. It’s kind of hard to see in this photo but you’ll be able to see it better later on in this post.

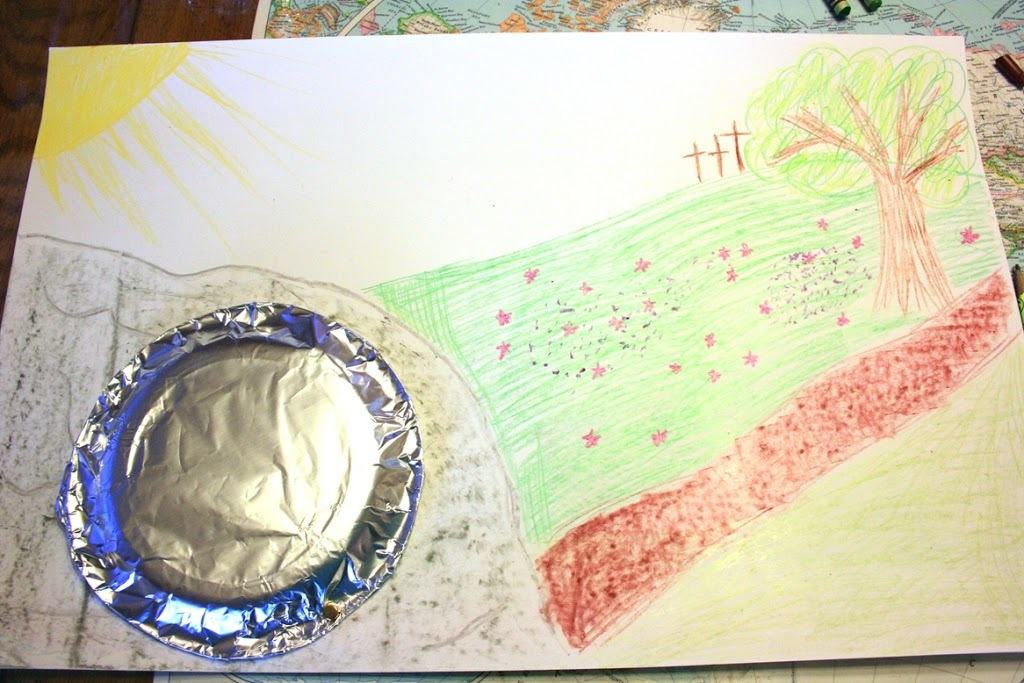
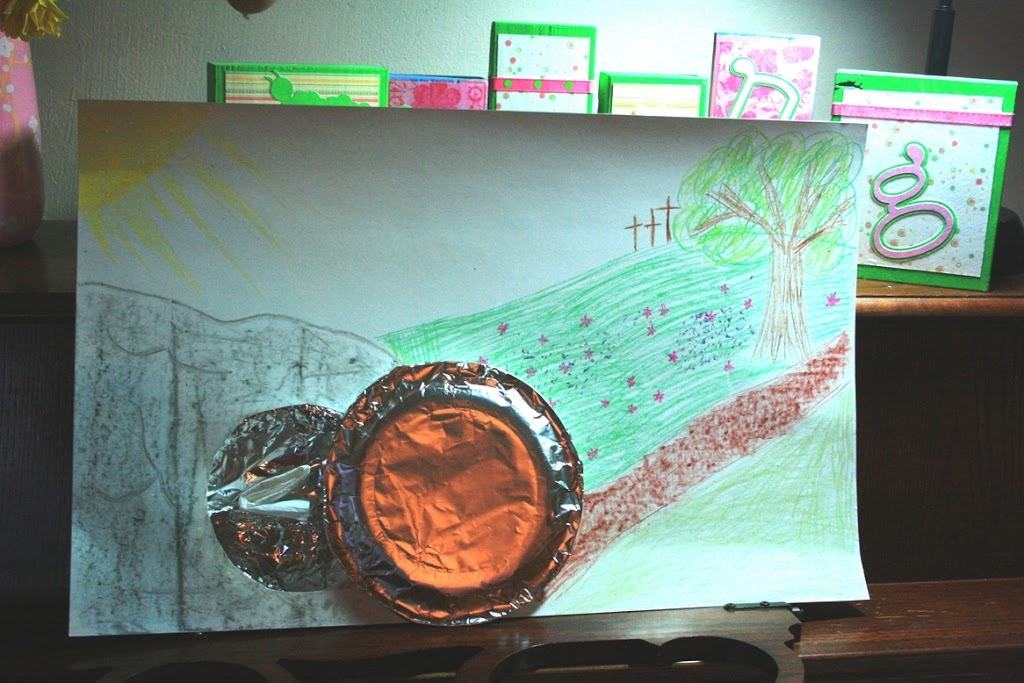
On the front attach the plate to the poster with the brad making sure to cover the hole. The plate becomes the stone in front of the tomb. Place the brad toward the bottom so you can roll the stone away.

Turn the poster over and tape the bowl down all along the edge. Make sure the ledge inside the bowl is going across instead of up and down!

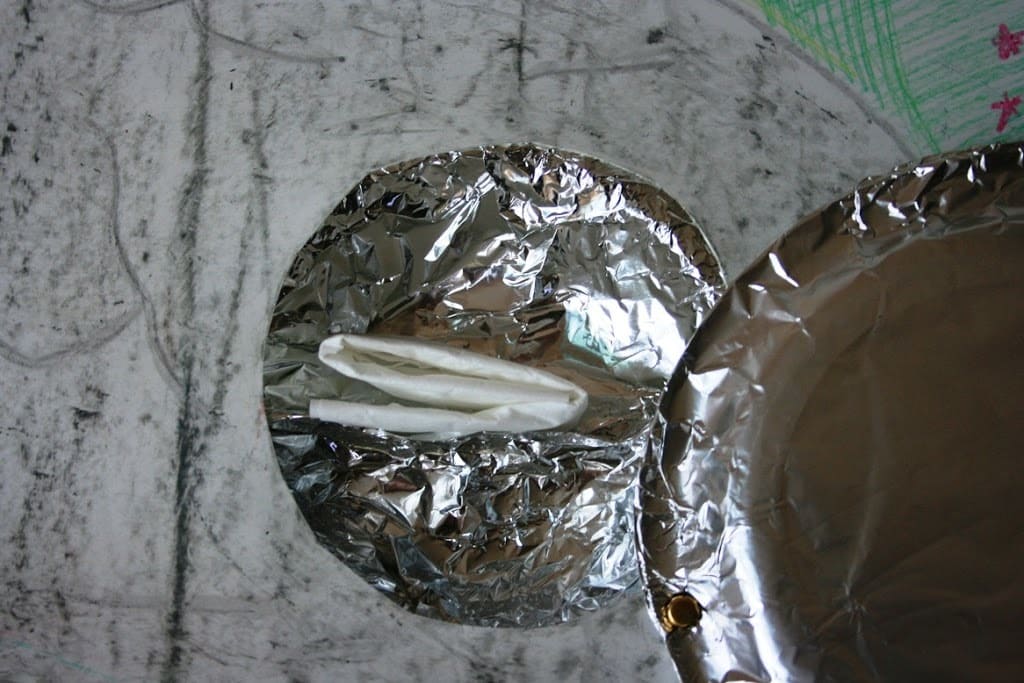
Turn the poster over again. Roll away the “stone” and place the tissue, folded up, on the ledge, to represent the linen cloth that had been wrapped around Jesus body.


Share this:

  • Click to email a link to a friend (Opens in new window) Email
  • Click to print (Opens in new window) Print
  • Click to share on Facebook (Opens in new window) Facebook
  • Click to share on X (Opens in new window) X
  • Click to share on Pinterest (Opens in new window) Pinterest
  • More
  • Click to share on LinkedIn (Opens in new window) LinkedIn
  • Click to share on Reddit (Opens in new window) Reddit
  • Click to share on Tumblr (Opens in new window) Tumblr
  • Click to share on Pocket (Opens in new window) Pocket

Related

Filed Under: Easter, Living Christ Lessons Tagged With: Easter

Comments

  1. Jocelyn Christensen says

    April 19, 2011 at 3:02 am

    So cute!

    Reply
  2. Iv says

    April 19, 2011 at 9:38 pm

    I love this idea. Was the bottom of the post cut off? I wonder what to do with the tissue and the “shelf” in the foil? Thanks! Love all your crafts and insightful ideas to make it a more meaningful holiday.

    Reply
  3. Chocolate on my Cranium says

    April 20, 2011 at 7:55 am

    Oops! Sorry Iv, I forgot to add that step towards the bottom of the post. It’s been added now!

    Reply
  4. Bella Lovett says

    April 9, 2020 at 10:22 am

    What is a Brad? What can I use instead? Where do I attach it?

    Reply
    • Montserrat {Cranial Hiccups} says

      April 9, 2020 at 5:02 pm

      A brad is a type of paper fastener. You can see a picture here: https://www.staples.com/OIC-Brass-Plated-Round-Head-Fasteners-3-8-Head-1-Capacity/product_378814?akamai-feo=off

      Reply

Trackbacks

  1. 7 Christ-Centered Easter Activities For Kids – Called To Mothering says:
    March 9, 2018 at 10:35 am

    […] you break out into hives. Try this simple and nearly mess-free craft from Free-n-Fun Easter or this one from Cranial Hiccups. Both are effective for creating something that kids will love to use […]

    Reply

Leave a ReplyCancel reply

This site uses Akismet to reduce spam. Learn how your comment data is processed.

Hello, I'm Montserrat. I'm a farmer's wife, mother of eleven, homeschooler, chocoholic, music lover, and like to play a good game of Scrabble. You can read more about me here. . .

You'll find a little bit of everything on this blog. It's my place to share all the ideas, activities, crafts, and resources that I have gathered and tried over a number of years. Feel free to browse around using the menu up top or doing a search in the box below.

Enter your email address to subscribe to this blog and receive notifications of new posts by email.

Archives

April 2011
S M T W T F S
 12
3456789
10111213141516
17181920212223
24252627282930
« Mar   May »

Return to top of page

COPYRIGHT © 2025 Montserrat Wadsworth at Cranial Hiccups • Lifestyle Pro Theme on Genesis Framework

[ Placeholder content for popup link ] WordPress Download Manager - Best Download Management Plugin