• Home
  • Create
    • Cookbook
      • Recipes
    • Crafts
    • Grateful Hearts Giving Hands
    • Holidays
      • Christmas
      • Easter
      • Independence Day
      • Thanksgiving
      • Valentine’s Day
    • Ingenious Ideas
    • Printables
    • Sewing
  • Family Life
    • Farming
    • Genealogy
  • Homeschool
    • Art
    • History
    • Homeschool Encouragement
    • Language Arts
    • Learning Styles
    • Library
    • Math
    • Science
    • Unit Studies
  • Motherhood
    • Home Making
      • Establish a House
    • Me
  • My Faith
    • Celebrate the Family Proclamation
      • Family Proclamation Articles
    • Family Home Evening Lessons
    • Flannel Board Stories
    • General Conference
    • Memorize the Family Proclamation
    • The Living Christ: An Easter Countdown
      • Living Christ Lessons
    • Young Women
  • Contact
  • About Me

Cranial Hiccups

Every once in a while and totally unintentionally my brain spews out a good idea.

You are here: Home / Motherhood / Home Making / Sewing Basics: Practice Sewing Lines on Fabric

Sewing Basics: Practice Sewing Lines on Fabric

May 2, 2011 by Montserrat {Cranial Hiccups} 4 Comments

Last week we covered sewing along lines drawn on paper with our sewing machine. This week is the same only you put a new needle in your machine and sew on fabric.

I thought I’d show how I prepare the fabric for my beginning sewers to sew on. It’s hard to sew on just one layer of fabric. It is also too much for them to keep track of two pieces of fabric if they aren’t attached together somehow. Just putting two pieces of fabric together doesn’t work as one or the other will shift in sewing, causing frustration. We don’t want frustration. We want sewing to be fun!

Here are the items you need:

  • muslin or other light colored cotton fabric (We have so many sewers in our house that I always have a bolt of muslin on hand for this and to use as lining when making clothes.)
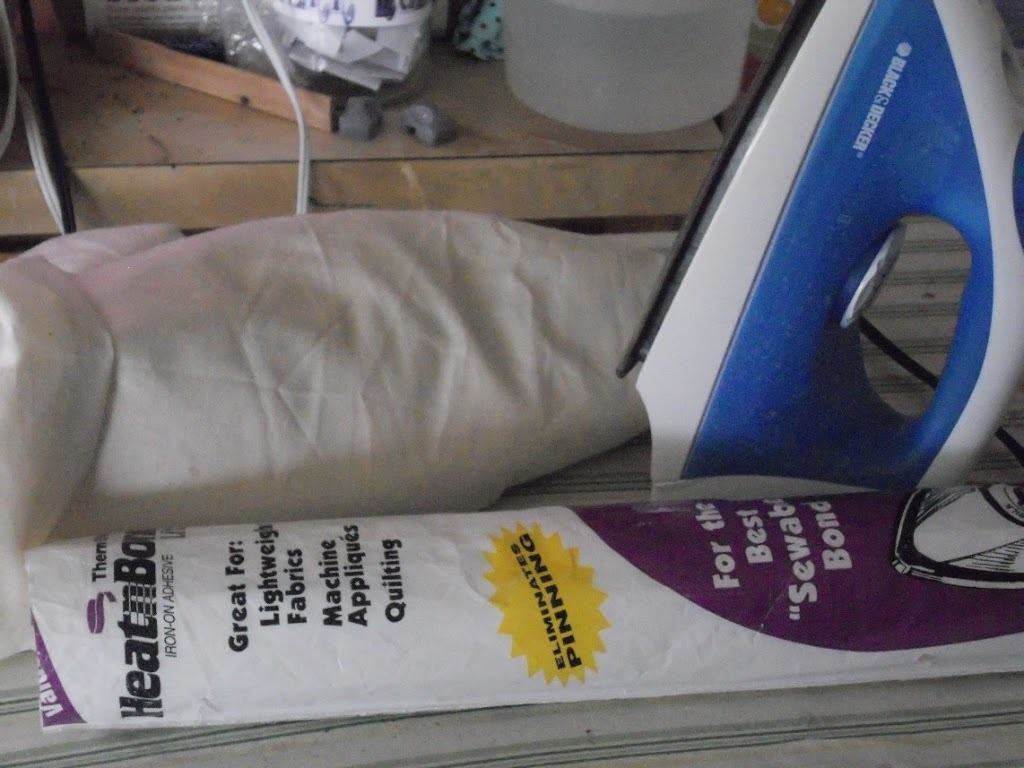
  • heat ‘n’ bond
  • iron


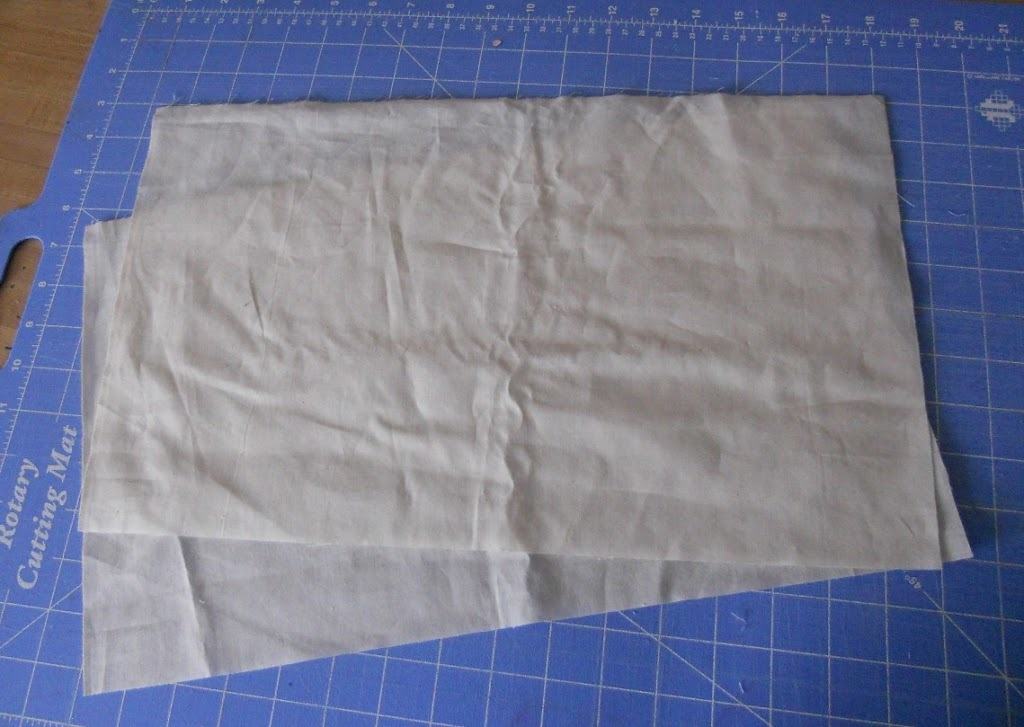
Step 1: Cut two pieces of fabric the exact same dimensions.

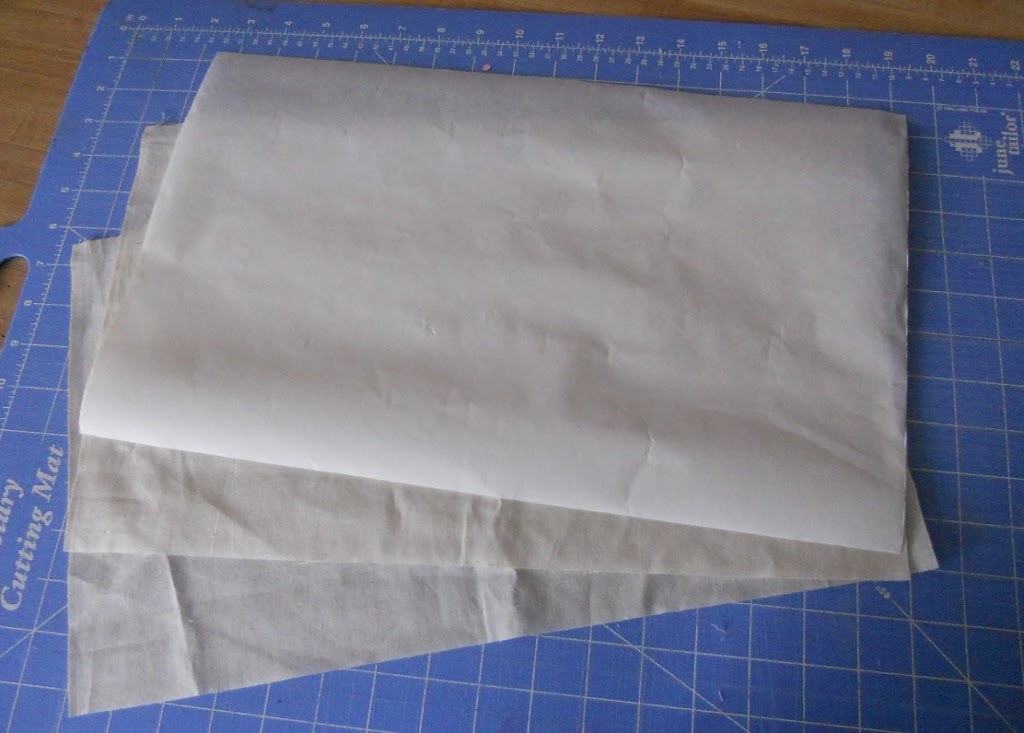
Step 2: Cut out a piece of heat ‘n’ bond the same dimensions as the fabric. Just trace your fabric on the paper side of the heat ‘n’ bond.

Step 3: Place the glue side of the heat ‘n’ bond on the wrong side of one piece of fabric. Iron according to the packages directions. You will be placing the iron directly on the paper. Let cool.

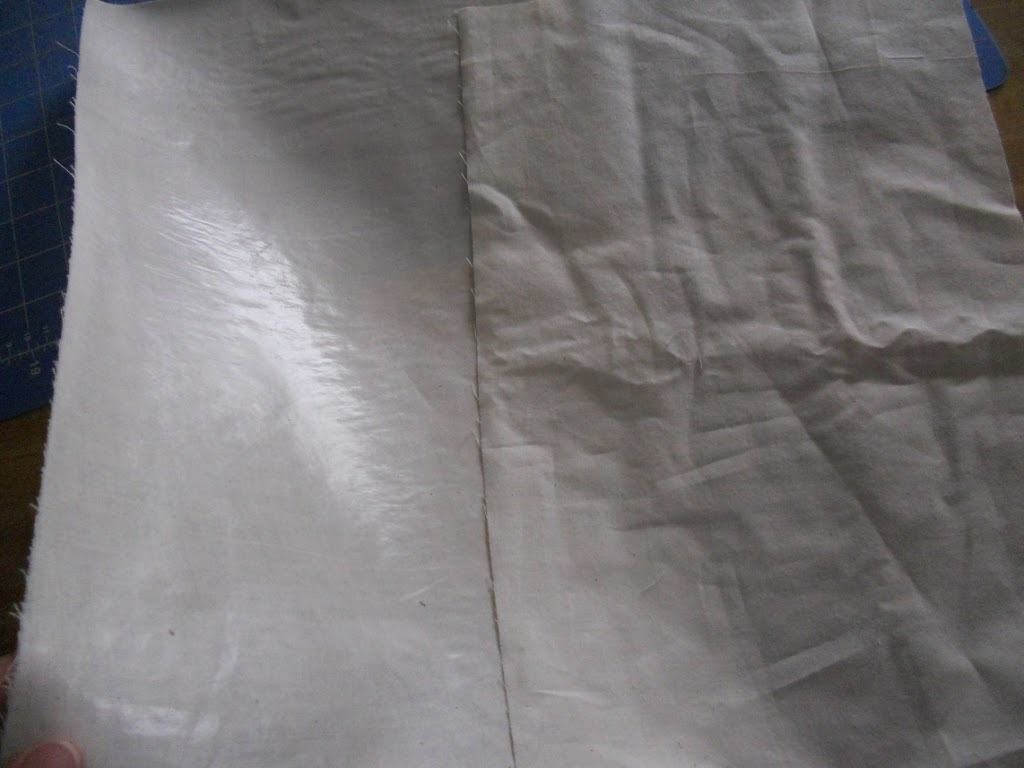
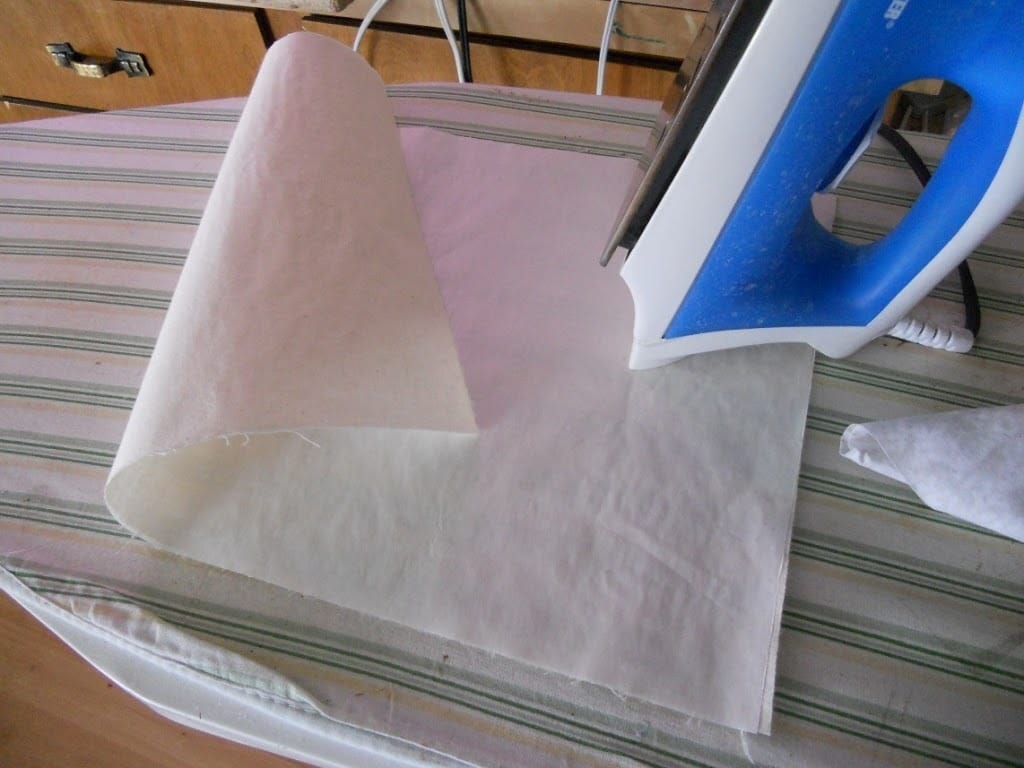
Step 4: Peel away the paper backing off the fabric. It will be very shiny. The piece on the left has the heat ‘n’ bond, while the piece on the right does not.

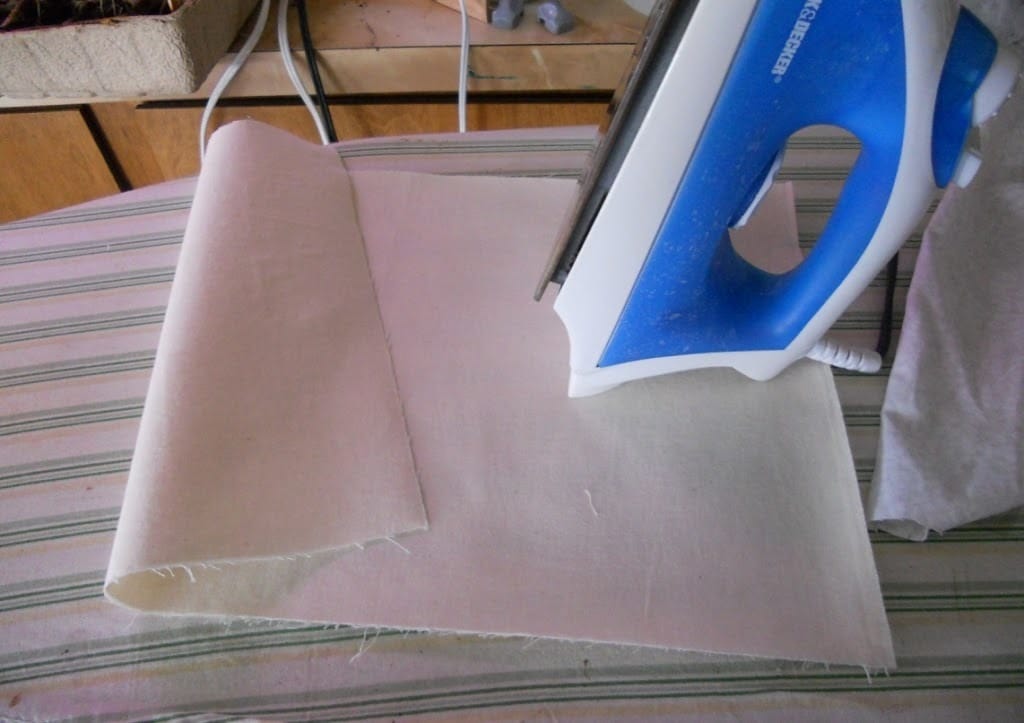
Step 5: Place this piece of fabric (with the heat ‘n’ bond) on top of the other piece (without heat ‘n’ bond) wrong sides together. Iron again gluing the two pieces of fabric together. This creates an nice piece of fabric to sew on that isn’t too stiff.

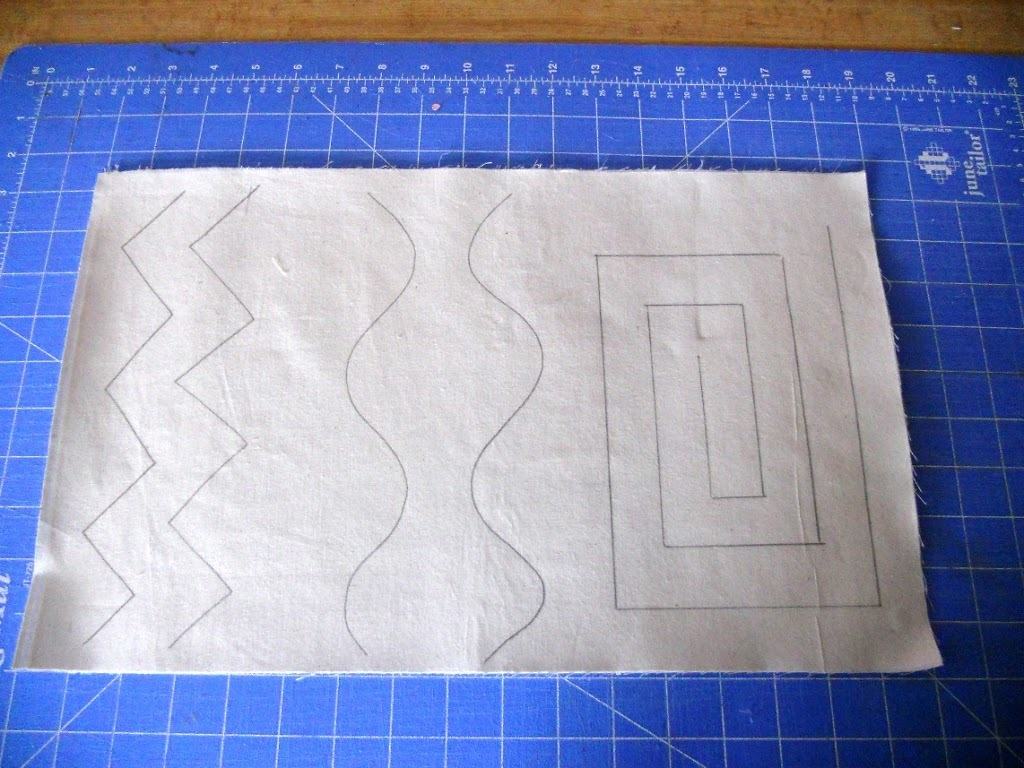
Now draw practice lines on the fabric with a pencil . . . .


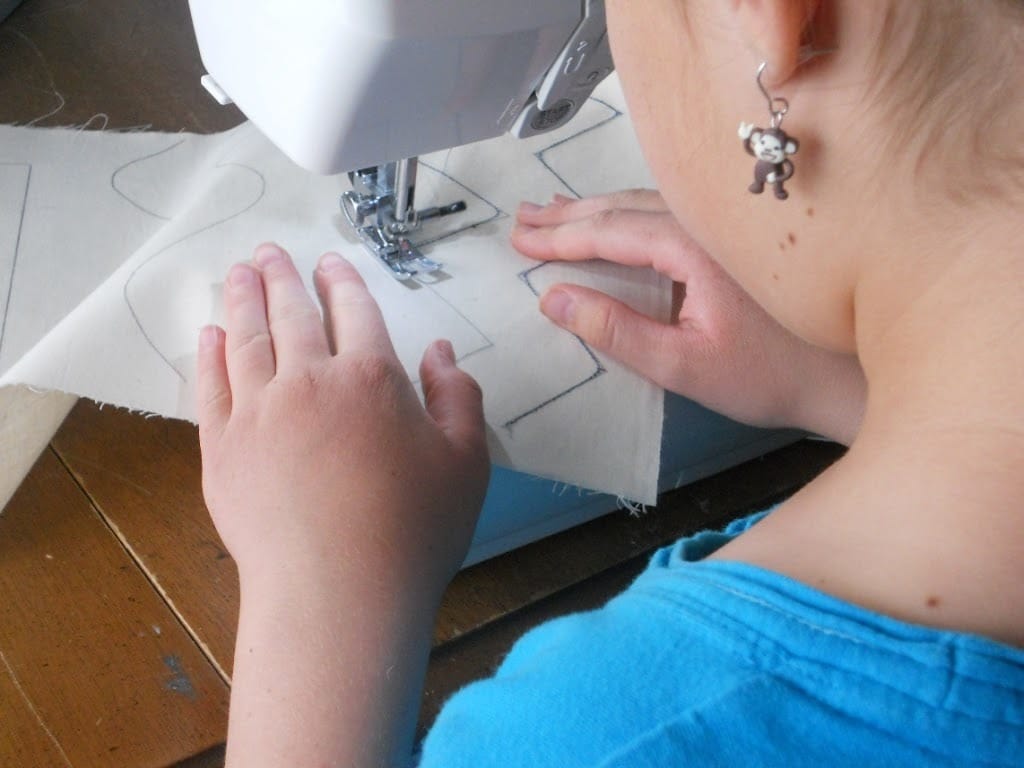
and let your beginner sewer go at it!

© 2007-2013 Chocolate on my Cranium, LLC all rights reserved

Share this:

  • Click to email a link to a friend (Opens in new window) Email
  • Click to print (Opens in new window) Print
  • Click to share on Facebook (Opens in new window) Facebook
  • Click to share on X (Opens in new window) X
  • Click to share on Pinterest (Opens in new window) Pinterest
  • More
  • Click to share on LinkedIn (Opens in new window) LinkedIn
  • Click to share on Reddit (Opens in new window) Reddit
  • Click to share on Tumblr (Opens in new window) Tumblr
  • Click to share on Pocket (Opens in new window) Pocket

Related

Filed Under: Home Making, Sewing

Comments

  1. Sea Star says

    May 2, 2011 at 8:52 pm

    I am thinking of getting Sophie a sewing machine for her birthday so these posts about learning to sew are so perfect!

    I wish someone had taught me to sew like this. It seems like so much fun and I am sure I would be a much better seamstress if I had.

    It will be good for both of us to do these lessons!

    Keep them coming 🙂

    Reply
  2. Patty Ann says

    May 2, 2011 at 8:53 pm

    What a totally great idea. I will have to use this during the summer for the girls. I am thinking easy projects just might be fun.

    Reply
  3. Kimberly says

    May 3, 2011 at 1:04 pm

    great idea, thank you!

    Reply
  4. Carrie says

    May 3, 2011 at 1:23 pm

    I am so excited you are doing these posts. I am finally going to tackle my aprons I bought the fabric and pattern for back in January. 🙂 I WILL be looking back on your sewing posts for help I am sure!

    Reply

Leave a ReplyCancel reply

This site uses Akismet to reduce spam. Learn how your comment data is processed.

Hello, I'm Montserrat. I'm a farmer's wife, mother of eleven, homeschooler, chocoholic, music lover, and like to play a good game of Scrabble. You can read more about me here. . .

You'll find a little bit of everything on this blog. It's my place to share all the ideas, activities, crafts, and resources that I have gathered and tried over a number of years. Feel free to browse around using the menu up top or doing a search in the box below.

Enter your email address to subscribe to this blog and receive notifications of new posts by email.

Archives

May 2011
S M T W T F S
1234567
891011121314
15161718192021
22232425262728
293031  
« Apr   Jun »

Return to top of page

COPYRIGHT © 2025 Montserrat Wadsworth at Cranial Hiccups • Lifestyle Pro Theme on Genesis Framework

[ Placeholder content for popup link ] WordPress Download Manager - Best Download Management Plugin